 Save to Pinterest
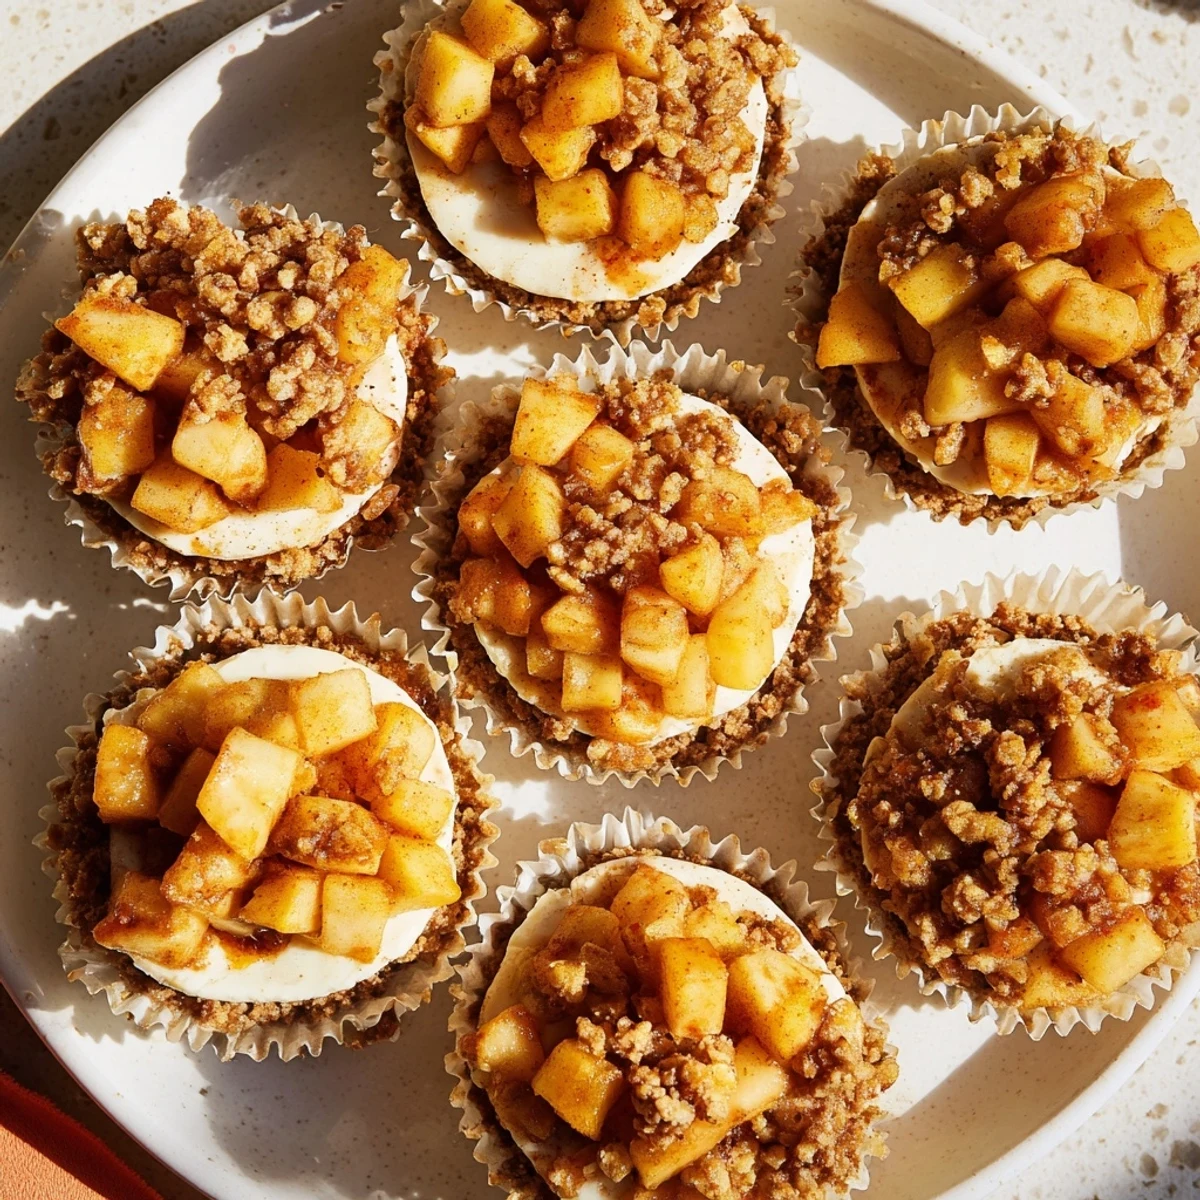
 These individual cheesecakes feature a buttery graham cracker crust, creamy vanilla filling, and a warm spiced apple crisp topping. The combination of textures creates a delightful contrast between the smooth cheesecake and the crumbly, caramelized apple mixture. Each bite delivers the comforting flavors of apple pie with the indulgent richness of classic cheesecake.
Perfect for gatherings or meal prep, these mini treats can be made ahead and stored in the refrigerator for up to three days. The individual portions make them ideal for serving, and the apple crisp topping adds a beautiful presentation.
The smell of cinnamon and apples cooking on the stove somehow makes the entire house feel cozier, even on an ordinary Tuesday evening. I first made these mini cheesecakes when I wanted to bring something special to a friendsgiving potluck but was terrified of attempting a full-sized cheesecake after my previous attempt cracked spectacularly. These individual portions felt forgiving, and watching everyone's faces light up when they took that first warm, spiced bite made all the effort worth it.
I remember serving these at my dads birthday dinner last fall when my oven decided to run twenty degrees hotter than usual. The cheesecakes came out a bit more golden than planned, but honestly the slightly deeper caramel flavor on the crust ended up being a happy accident that I now recreate on purpose.
Ingredients
- Graham cracker crumbs: These form the buttery foundation and using a food processor gets the finest most even texture for pressing into liners
- Cream cheese: Absolutely must be completely softened to room temperature or you will end up with lumpy batter no matter how long you mix
- Apples: Granny Smith or Honeycrisp hold their shape beautifully during cooking and provide that perfect tart sweet balance
- Old-fashioned rolled oats: These give the crisp topping its signature texture and absorb the buttery spiced juices without turning mushy
Instructions
- Press the crusts:
- Mix melted butter into the graham cracker crumbs and sugar until it feels like wet sand then press firmly into each liner using the back of a measuring spoon to create compact even layers that will hold together
- Beat the filling:
- Start with room temperature cream cheese and beat it until completely smooth before adding any sugar then incorporate eggs one at a time just until combined to prevent incorporating too much air
- Bake gently:
- Fill each liner about three quarters full and bake until the centers are just set with a slight wobble like jell-o knowing they will continue cooking slightly as they cool
- Make the spiced apples:
- Cook diced apples with butter brown sugar cinnamon nutmeg and lemon juice until tender then stir in oats and flour to create that irresistible crumbly crisp topping
- Assemble and serve:
- Let the cheesecakes chill completely before topping with warm apple crisp mixture because the temperature contrast is honestly what makes this dessert extraordinary
 Save to Pinterest
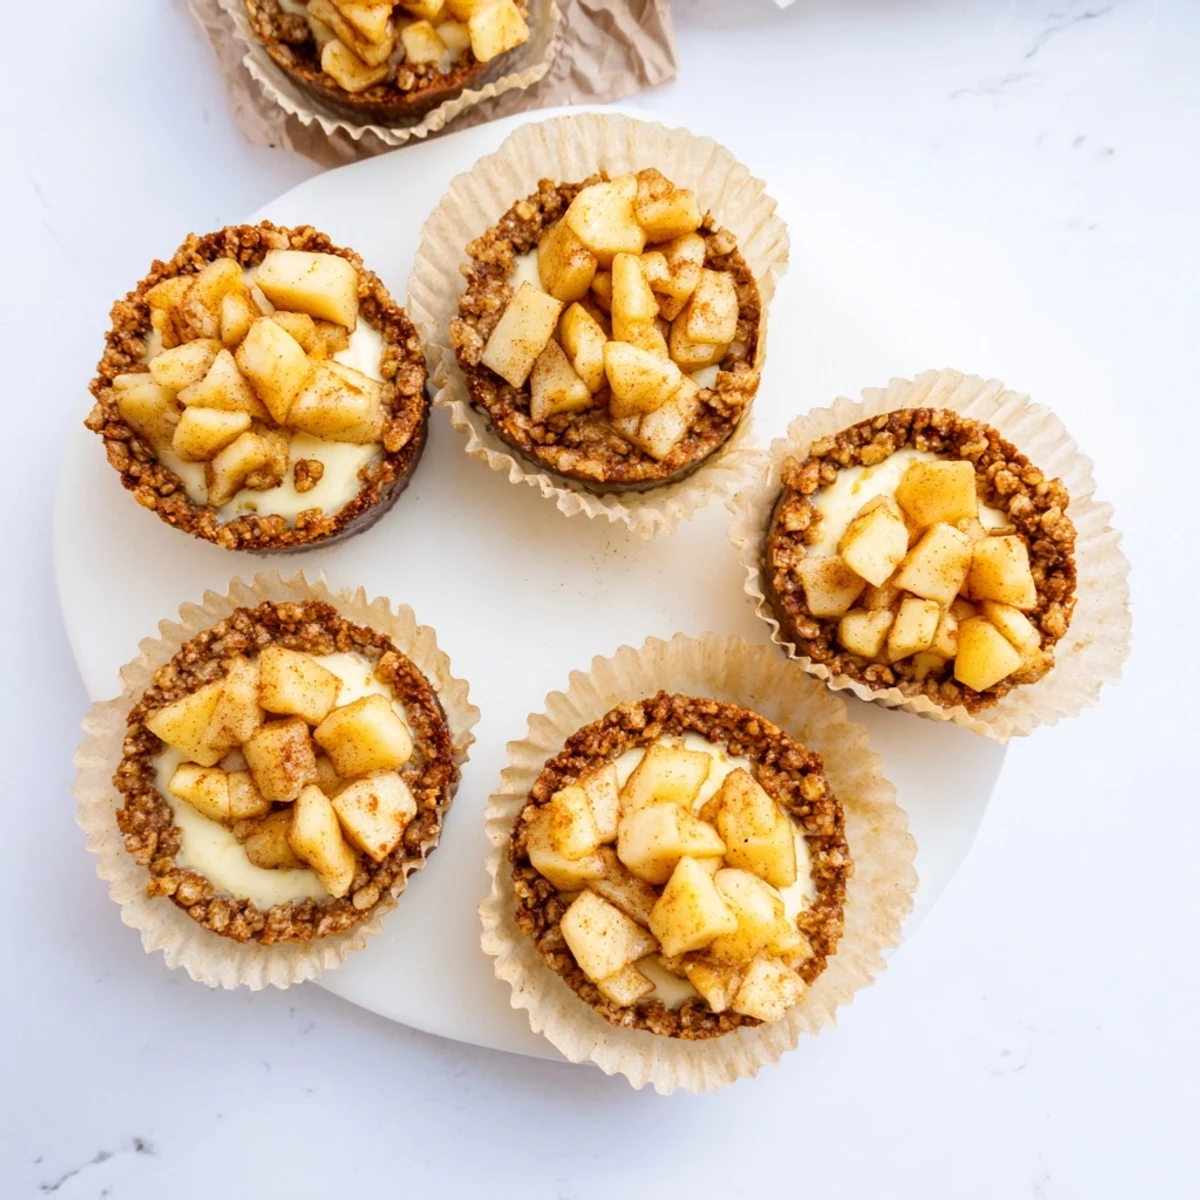
 These have become my go-to dessert for dinner parties because I can make everything a day ahead and simply warm the apple topping right before serving. Watching friends get excited about taking that first bite never gets old.
Mastering the Crust
Pressing the graham cracker mixture firmly into the bottom of each liner is the most important step for structural integrity. I learned to use the bottom of a flat measuring cup or shot glass to create an even compact layer that will not crumble when you take that first bite.
Temperature Control
Cheesecakes are notoriously finicky about temperature changes so always let them cool gradually in the oven with the door slightly cracked before transferring to the refrigerator. This slow cooling prevents the dreaded cracking that can happen when proteins contract too quickly.
Make Ahead Strategy
The beauty of this recipe is that both components can be prepared separately and stored for up to two days before assembling. The cheesecakes actually develop better flavor after chilling overnight and the apple crisps can be gently reheated in the microwave before serving.
- Make the cheesecakes on Friday for a Saturday dinner party
- Store the apple topping in an airtight container at room temperature
- Warm the topping for thirty seconds before serving for that fresh baked taste
 Save to Pinterest
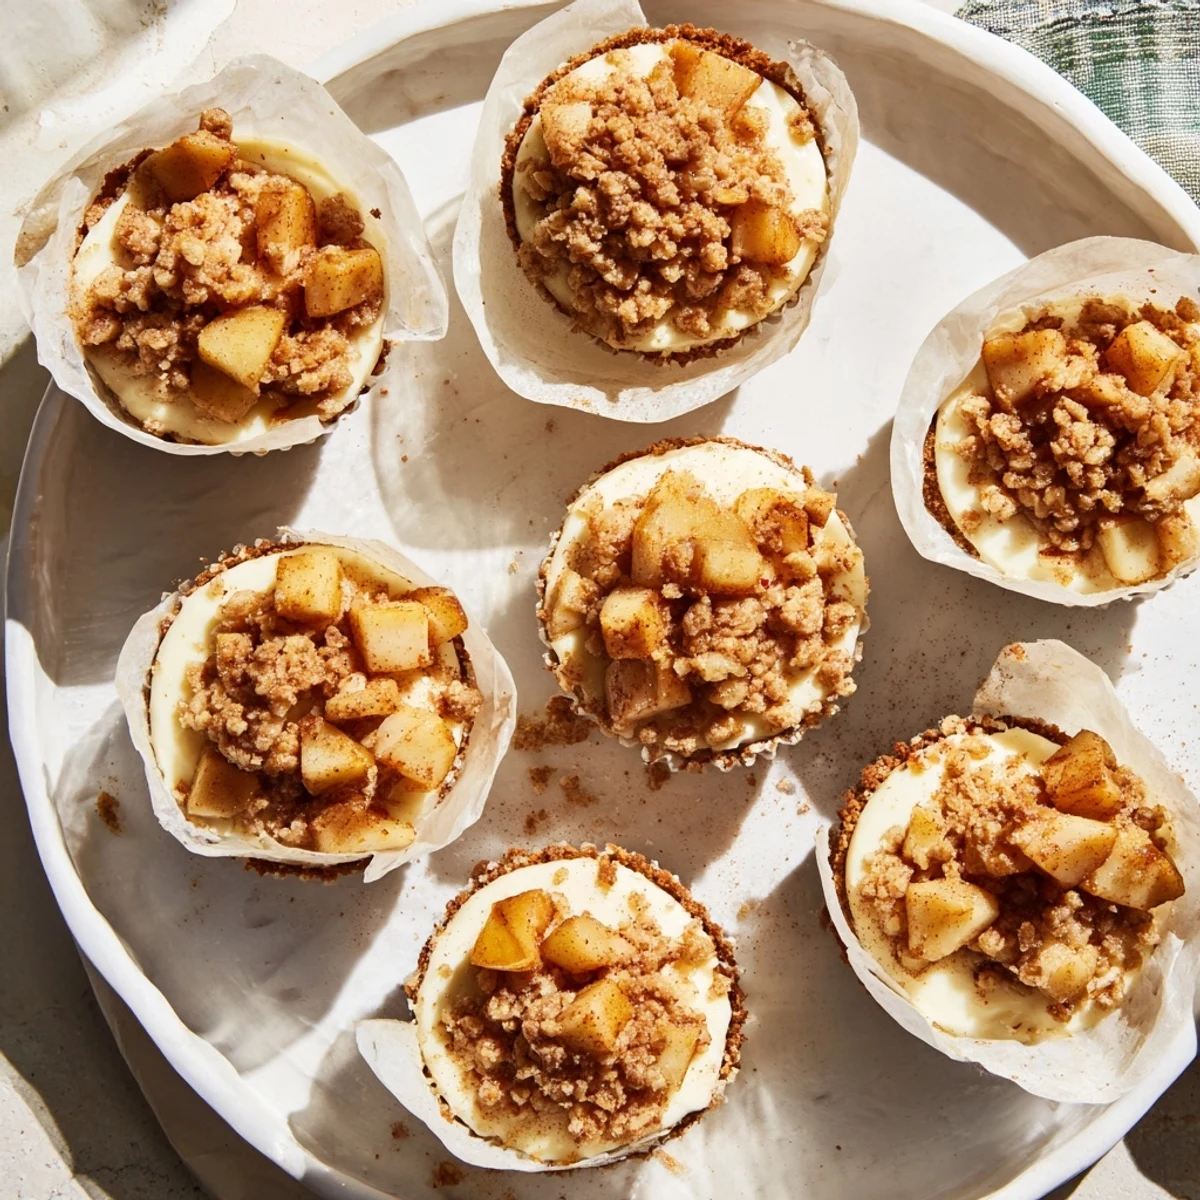
 There is something magical about the combination of cool tangy cheesecake and warm cinnamon apples that feels like autumn in dessert form. I hope these become a cherished recipe in your home too.
Recipe FAQs
- → Can I make these ahead of time?
-
Yes, prepare the cheesecakes and store them in the refrigerator for up to 3 days. Add the apple crisp topping just before serving for the best texture and flavor.
- → What type of apples work best?
-
Firm apples like Granny Smith, Honeycrisp, or Braeburn hold their shape well during cooking and provide a nice tart contrast to the sweet cheesecake filling.
- → Can I freeze these mini cheesecakes?
-
Freeze the cheesecakes without the apple topping for up to 2 months. Thaw overnight in the refrigerator and top with freshly prepared apple crisp before serving.
- → How do I know when the cheesecakes are done?
-
The centers should be just set with a slight wobble, similar to Jell-O. They will continue to firm up as they cool. Overbaking may cause cracking.
- → Can I make these gluten-free?
-
Use gluten-free graham crackers for the crust and certified gluten-free oats in the topping. Substitute all-purpose flour with a 1:1 gluten-free flour blend for the crisp mixture.
- → What can I use instead of graham cracker crumbs?
-
Try crushed vanilla wafers, digestive biscuits, or even pecan sandies for a different flavor profile in the crust.
