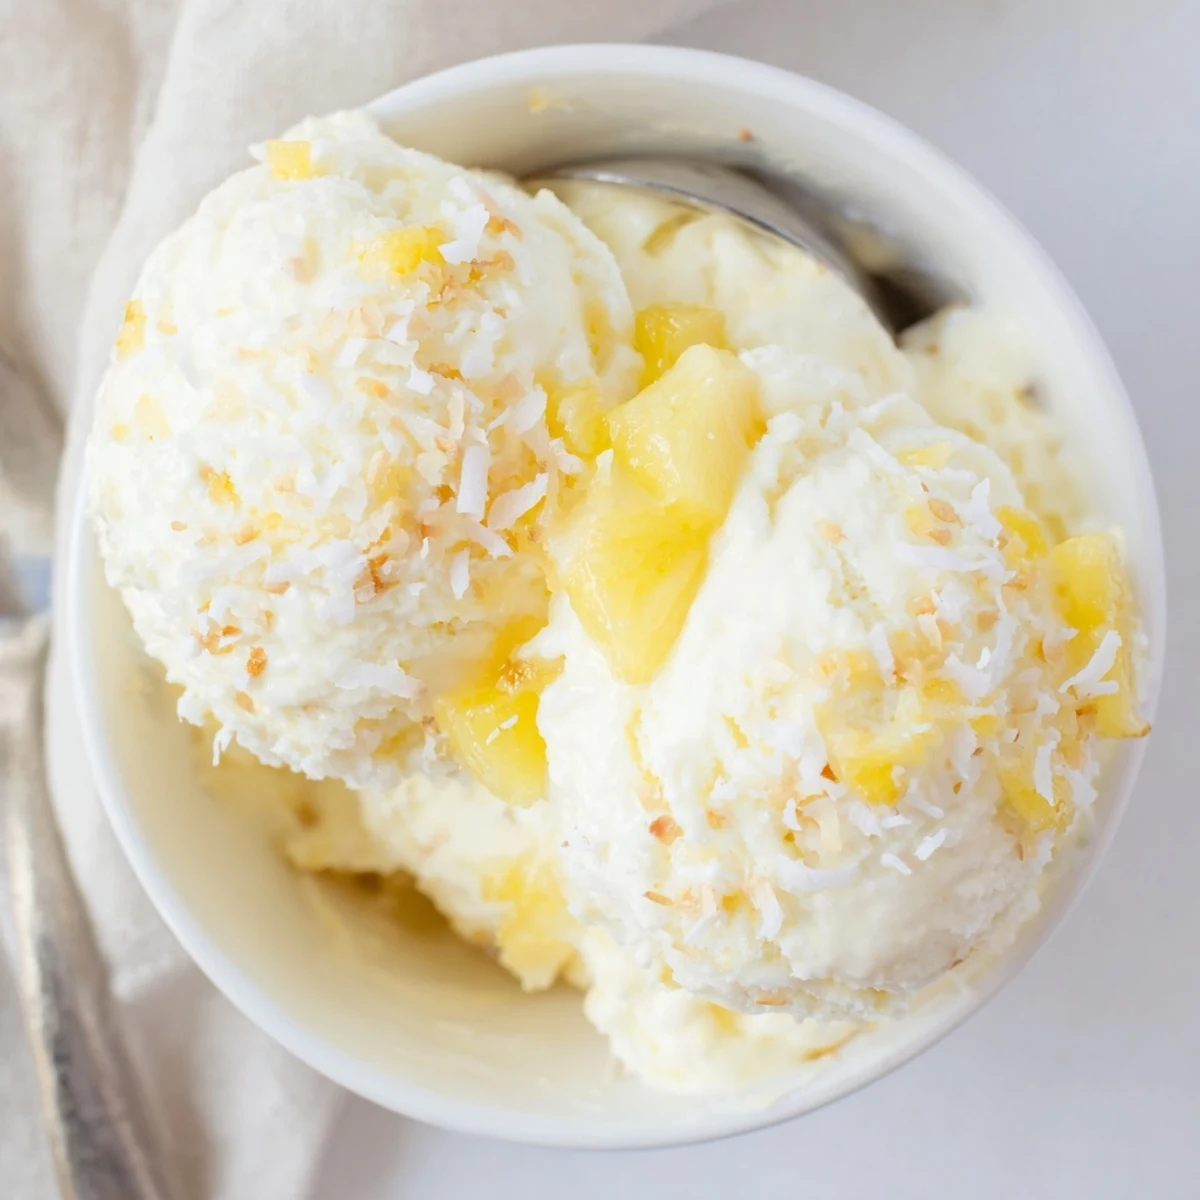
 Save to Pinterest
 Bright pineapple is simmered with sugar and lemon until soft, then pureed smooth and folded into a chilled mixture of heavy cream, whole milk, vanilla and a pinch of salt. After a brief chill the base is churned until thick and creamy and frozen until firm. For texture fold in finely chopped pineapple or toasted coconut near the end and allow brief resting before scooping.
As soon as the first heatwave rolls in and the markets start filling with sweet pineapples, I know it's time to make this ice cream. The whir of the blender, the tangy fragrance dancing through my kitchen, and the anticipation of waiting for that first creamy spoonful have become a little tradition all their own. It's the kind of treat that feels almost like cheating summer: tropical, cold, and impossibly easy. Every time, the surprise is in just how much it tastes like vacation, even on a Tuesday afternoon.
I once whipped up a batch of this for friends after a last-minute barbecue, watching everyone rush to the kitchen when they heard the ice cream maker humming. I still remember someone sneaking an early spoonful straight from the container—none of us minded the lack of bowl etiquette that time. There’s something extra fun about blending fruit and cream together and knowing you’re about to create a sweet memory.
Ingredients
- Fresh Pineapple (2 cups, diced): Ripe pineapple is key for bold flavor; if using canned, drain it thoroughly to avoid excess moisture.
- Granulated Sugar (2/3 cup): Balances the pineapple’s tartness and helps smooth the texture.
- Lemon Juice (1 tbsp): A splash brightens up the fruit and keeps the flavors lively.
- Heavy Cream (2 cups): The secret to that dreamy, scoopable texture.
- Whole Milk (1 cup): Lightens the mixture just enough while keeping things rich.
- Pure Vanilla Extract (1 tsp): A little goes a long way to round out the tropical notes.
- Salt (1/8 tsp): Just a pinch highlights the sweetness and makes all the flavors pop.
Instructions
- Cook the Pineapple:
- Toss your diced pineapple, sugar, and lemon juice into a saucepan and let them bubble gently for about 5 minutes; your kitchen will smell heavenly. Set aside so the mixture can cool completely—impatience here only leads to melted ice cream later.
- Puree to Perfection:
- Spoon the cooled pineapple mix into a blender or food processor and blend until completely smooth with no visible chunks.
- Whisk Up the Base:
- In a roomy bowl, whisk the cream, milk, vanilla, and salt until everything looks silky, then stir in that sunshiney pineapple puree.
- Chill Thoroughly:
- Cover the bowl and let the mixture get good and cold in the fridge—at least 2 hours but longer means even creamier ice cream later.
- Churn Away:
- Pour the chilled mixture into your ice cream maker and churn according to its instructions; after about 25 minutes, it should look thick and dreamy.
- Freeze Until Set:
- Scoop the ice cream into a freezer-safe container, smooth the top, and press some parchment directly on the surface before freezing for at least 4 hours.
- Scoop and Serve:
- Let the ice cream sit out for 5 minutes so it's easy to scoop, then serve and smile at the tropical escape you just made in your own kitchen.
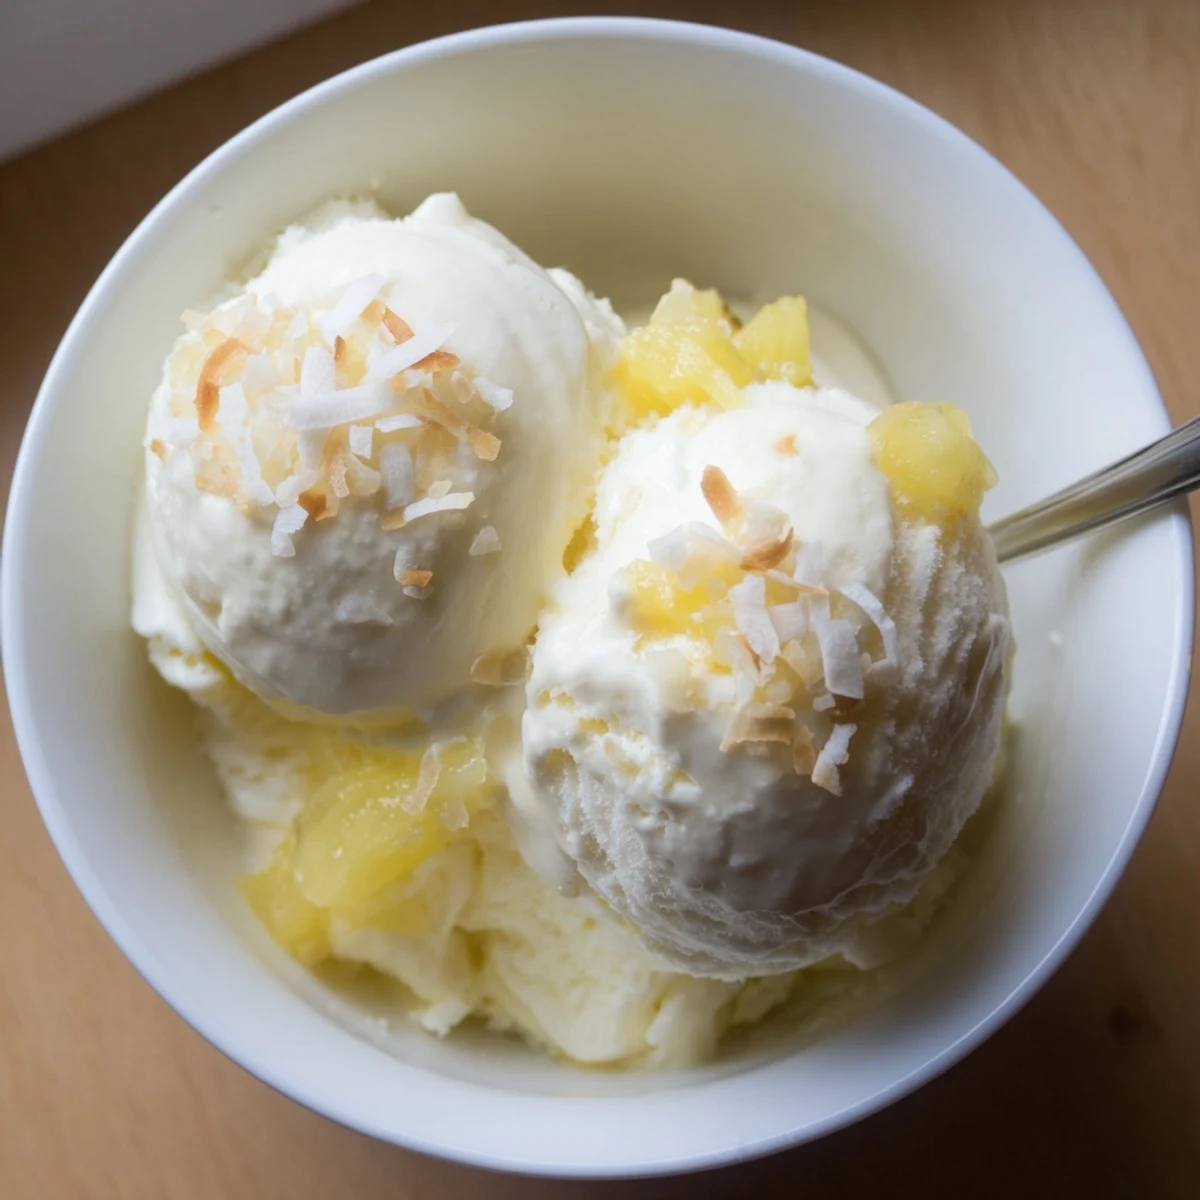 Save to Pinterest
 Watching people take their first bite always feels like sharing a little secret—pineapple's magic wrapped in cold silk. The best part is seeing a friend close their eyes and laugh, already plotting the next excuse to make it together.
Sunny Mix-Ins for More Fun
I’ve found this recipe is wildly adaptable: once, I added a handful of toasted coconut flakes, and it turned out to be such a hit that now everyone requests the “special version.” Don’t be afraid to try swirling in a quick pineapple compote or even a drizzle of rum if you’re feeling bold.
Tools That Make It Easier
The right tools make cleanup so much simpler—for example, a nonstick saucepan won’t leave you scrubbing sticky fruit, and a high-powered blender means no rogue lumps. If you don’t own an ice cream maker, just freeze the mixture in a shallow pan and stir vigorously every hour—a little elbow grease gives surprisingly creamy results.
Your Pineapple Ice Cream Game Plan
Patience truly pays off when it comes to homemade ice cream, but so does giving in to that first eager taste. Remember, flavors intensify with freezing, and leftovers are your future self’s best reward.
- Scoop some into a cone for a backyard treat.
- Top with sliced kiwi or fresh mint for extra flair.
- Promise yourself to hide a batch at the back of the freezer—it disappears fast.
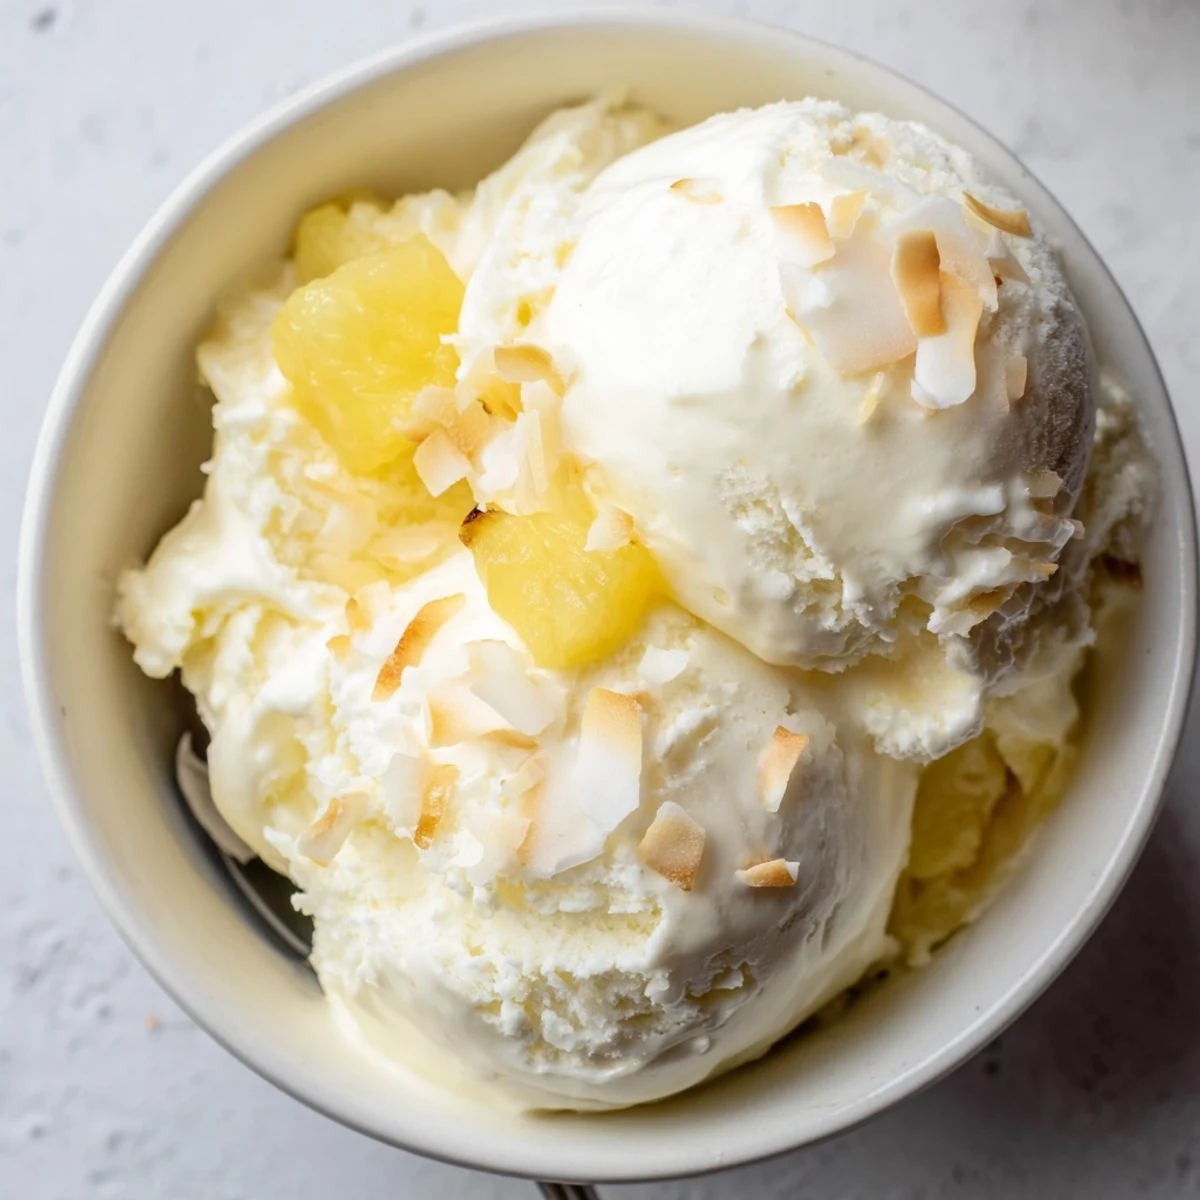 Save to Pinterest
 No fancy vacation needed—this ice cream brings tropical sunshine straight to your dessert bowl. However you serve it, you'll catch yourself smiling with every creamy, fruity bite.
Recipe FAQs
- → Can I use canned pineapple instead of fresh?
-
Yes. Use canned pineapple that's well drained and pat dry to avoid excess liquid. Taste the puree and reduce added sugar if the fruit is sweet; simmer briefly to concentrate flavor if needed.
- → How do I make this without an ice cream maker?
-
Pour the chilled base into a shallow, freezer-safe dish and freeze. Stir vigorously every 30–60 minutes as it firms to break up ice crystals until smooth and scoopable, about 3–5 hours depending on your freezer.
- → Can I reduce the sugar or use an alternative sweetener?
-
Yes, but less sugar can lead to a firmer freeze. Use honey or agave for flavor, and reduce liquids slightly or add a small splash of alcohol to maintain scoopability if sweetness is lowered significantly.
- → Is there a dairy-free option that keeps the same texture?
-
Swap heavy cream and milk for full-fat coconut milk and coconut cream. Chill thoroughly before churning; coconut gives a rich mouthfeel but the flavor will be more tropical.
- → When should I add chopped pineapple or mix-ins?
-
Fold in finely chopped pineapple, toasted coconut, or other add-ins during the last few minutes of churning so they stay dispersed and retain texture without becoming too icy.
- → How long can I store the finished ice cream?
-
Transfer to a freezer-safe container, press plastic wrap onto the surface to prevent ice crystals, and freeze up to two weeks for best texture. Let sit a few minutes at room temperature before scooping.
