 Save to Pinterest
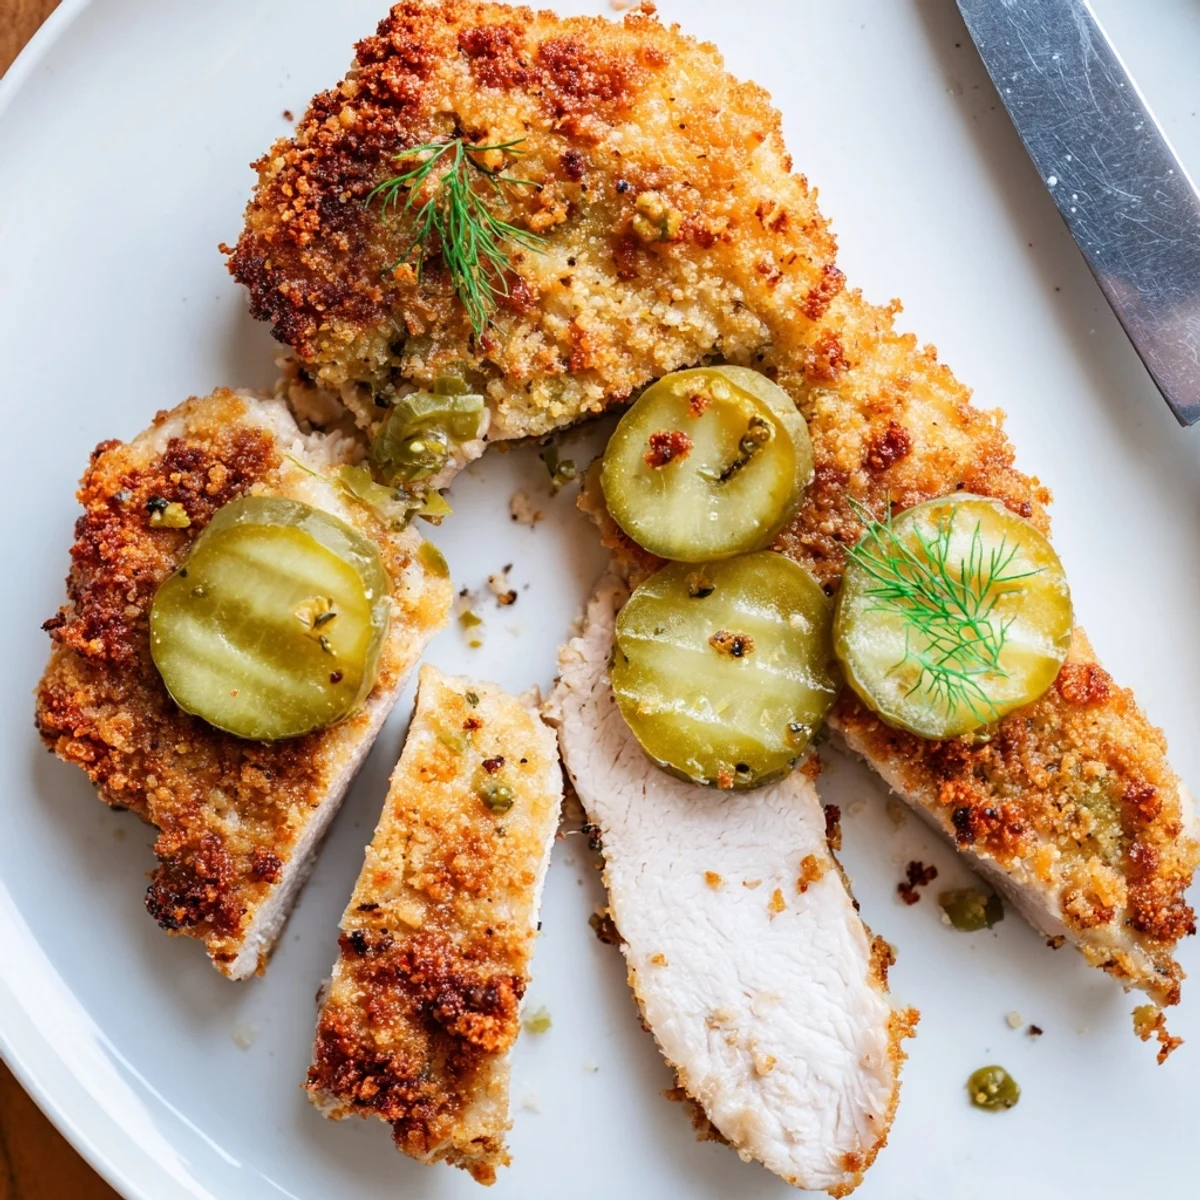
 Marinate chicken in dill pickle juice with chopped pickles and garlic powder for 1–12 hours to infuse bright, tangy flavor. Pat pieces dry, then dredge in seasoned flour, dip in egg wash and press on panko for a sturdy, crunchy crust. Fry in ½ inch oil 4–6 minutes per side until golden and 165°F/74°C. Serve hot with extra pickles, fresh dill, or sides like potato salad or coleslaw. For gluten-free swap flour and breadcrumbs; add cayenne for heat.
The unmistakable tang of pickle brine used to waft through the kitchen whenever someone opened a fresh jar, but I never imagined it would someday end up in my chicken marinade. One midweek evening, curiosity got the better of me after an enthusiastic friend raved about pickle-brined fried chicken, so I decided to give it a whirl. The result not only surprised me—it earned a place on my regular dinner rotation. This dish feels like a playful twist on comfort food, with bold crunch and a burst of flavor in every bite.
I first made crispy dill pickle chicken for a summer backyard get-together, and listening to everyone crunch into their first bites was practically its own applause. Each time someone asked for the recipe, I caught myself smiling—there’s just something infectious about the zesty, golden crust that gets people talking and nibbling for seconds.
Ingredients
- Boneless, skinless chicken thighs or breasts: Thighs stay extra juicy, but breasts also work for a leaner finish—pat them dry before marinating for best results.
- Dill pickle juice: The brine tenderizes and infuses the chicken with a big dill punch; I always use juice from crunchy, garlicky dills.
- Chopped dill pickles: A handful of pickles gets tucked right into the marinade for extra tang and texture.
- Garlic powder: A dash adds depth to the marinade without upstaging the dill.
- All-purpose flour: It’s the classic base for a crispy exterior—fresh flour coats best.
- Panko breadcrumbs: For superior crunch, panko is unbeatable; don’t skip it.
- Paprika: Just a little smoky sweetness does wonders here.
- Onion powder: Subtle savoriness creates a well-rounded breading flavor.
- Salt and black pepper: Season both the breading and the chicken—don’t be shy.
- Eggs and water: This simple wash helps the crust stick; whisk thoroughly for a smooth dip.
- Vegetable oil for frying: Heat enough oil for shallow frying—about a half inch in your skillet.
Instructions
- Marinate the chicken:
- Lay the chicken in a large resealable bag and pour in the dill pickle juice, chopped pickles, and garlic powder. Squeeze out air, seal, and let the flavors mingle in the fridge for at least an hour (overnight is magic).
- Mix the breading:
- In a wide bowl, blend together flour, panko, paprika, onion powder, salt, and pepper until evenly combined—the colors should look cheerful.
- Prep the egg wash:
- Grab another shallow bowl and whisk eggs with water until airy and well mixed, so no gloopy bits remain.
- Dry and dredge:
- Take each piece of chicken out of the marinade and pat with paper towels until mostly dry—this helps the breading stick.
- Bread the chicken:
- Coat the chicken thoroughly in the flour-panko mix, dip in the egg wash, then back into the flour mixture, pressing gently so every surface is covered.
- Heat the oil:
- Pour vegetable oil into a skillet to a depth of about half an inch and heat over medium-high until a pinch of flour sizzles on contact.
- Fry to golden perfection:
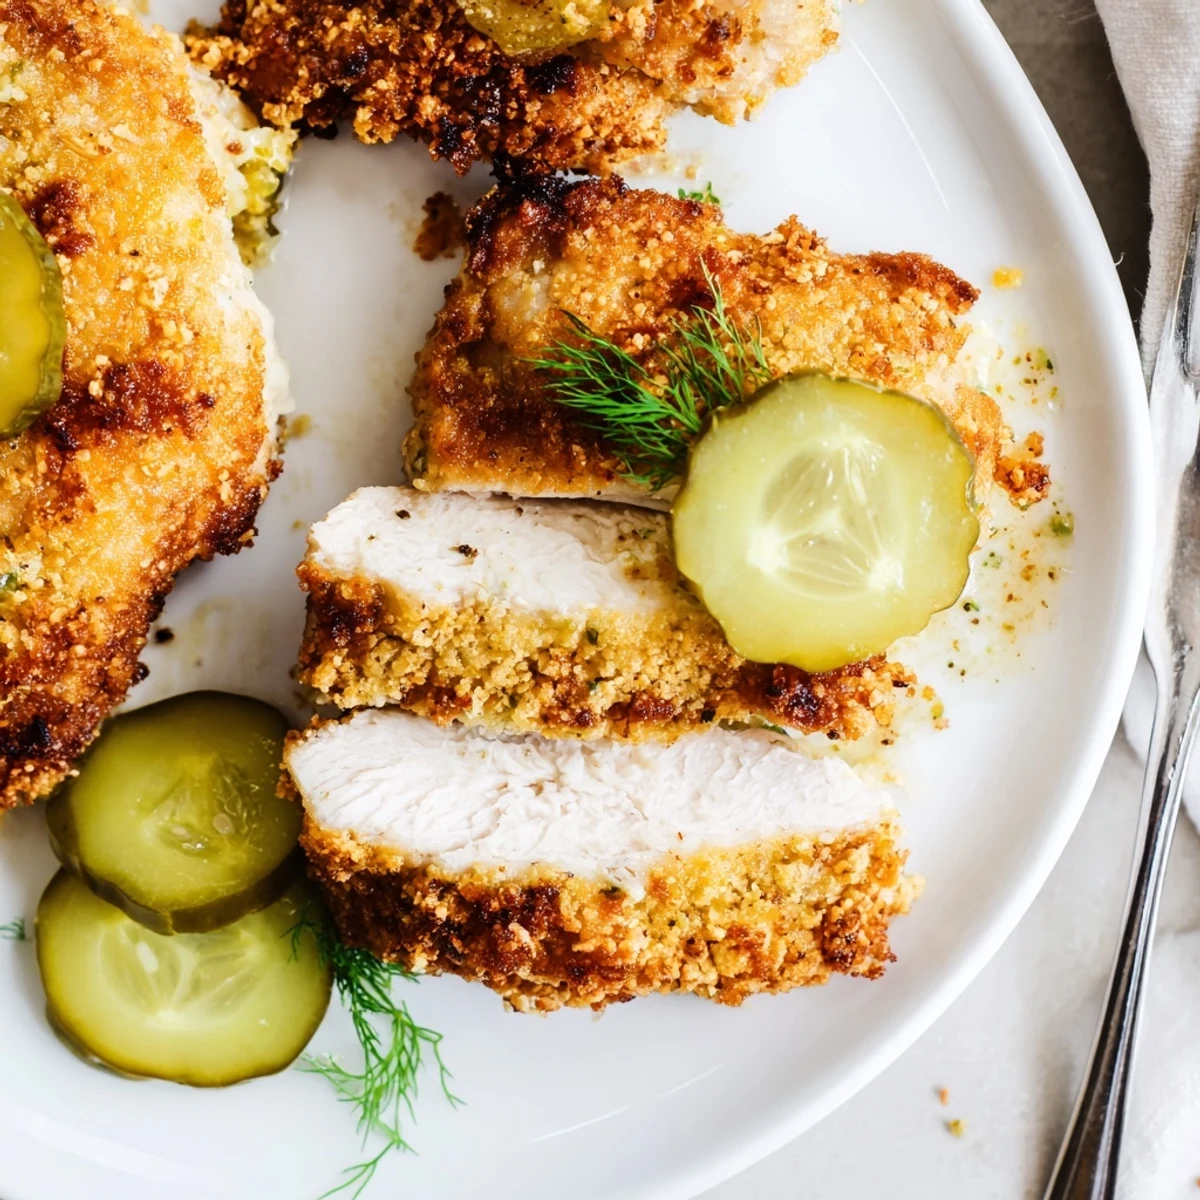
- Working in batches, fry the chicken 4 to 6 minutes on each side until the crust is deeply golden and the inside hits 165°F (74°C).
- Drain and serve:
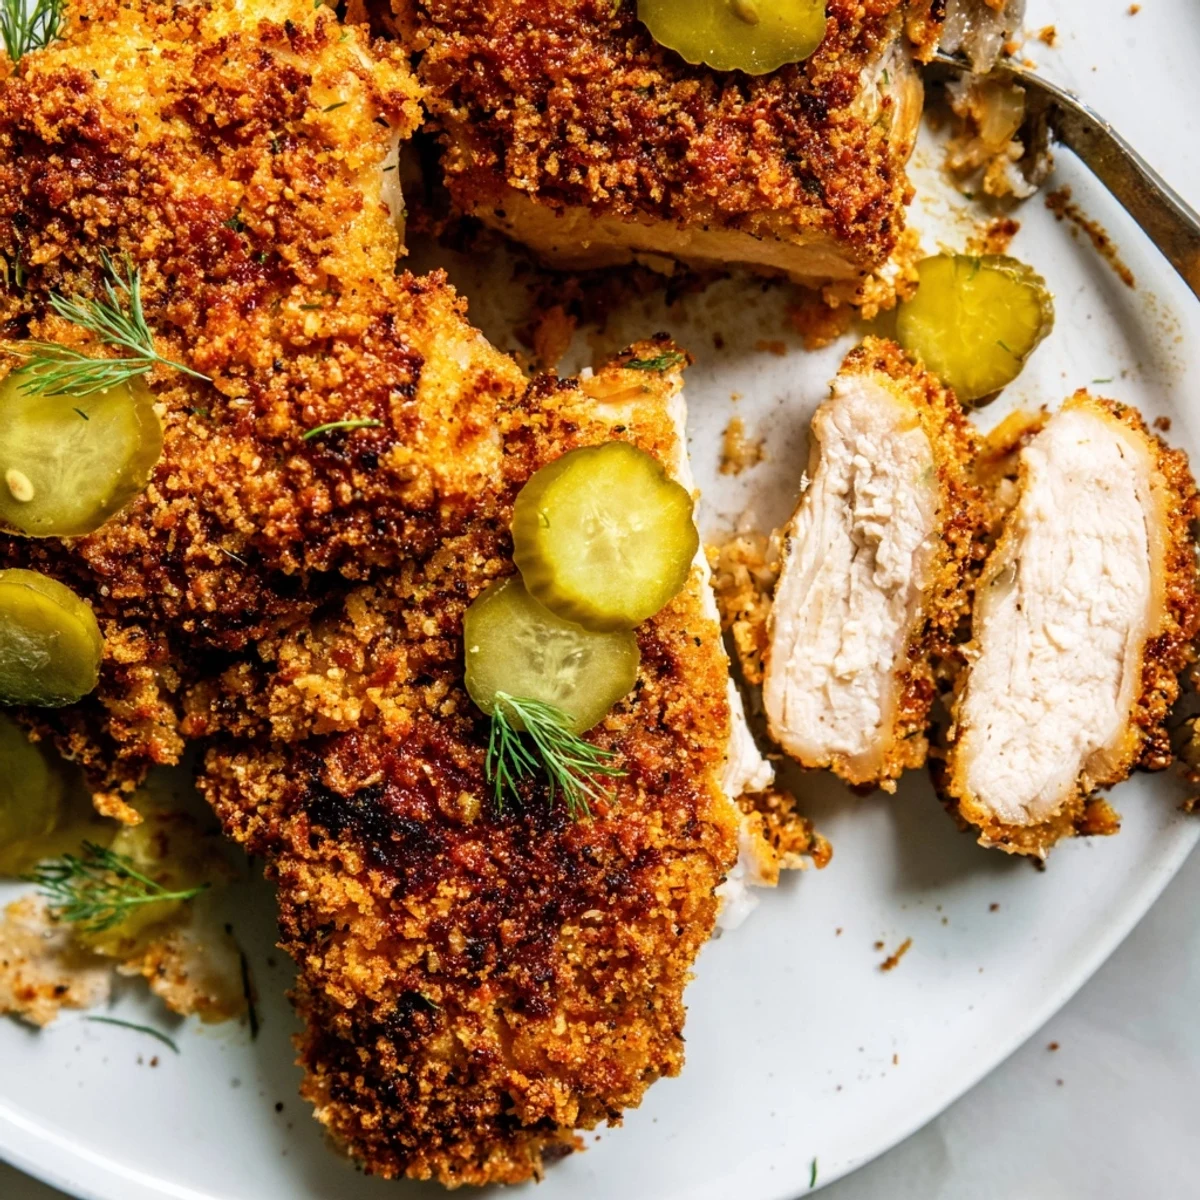
- Transfer to a wire rack set over paper towels and let cool a moment—the steam escaping keeps the crust extra crisp. Top with fresh dill pickles and serve hot if you like a flourish.
 Save to Pinterest
 One evening after everyone went back for thirds, my kitchen filled with laughter and little dill pickle slices somehow made their way onto almost every plate. It’s amazing how a humble brine can turn a simple dinner into a gathering worth lingering over.
What to Pair With Crispy Pickle Chicken
Potato salad with lots of fresh dill or a bright, crunchy coleslaw sets off the tangy chicken beautifully—think picnic vibes, even if you’re indoors. A cold pilsner or lemonade makes for a refreshingly light pairing when the meal needs a casual touch.
Swaps and Shortcuts That Work
If you’re out of panko, crushed cornflakes or regular breadcrumbs still deliver a satisfying crunch. Chicken tenders work perfectly for easy snacking or party platters, and gluten-free versions taste just as bold when you swap in the right flour and crumbs.
Making the Most of Leftovers
Leftover crispy dill pickle chicken heats up well in the oven the next day, keeping its snap. Chop it up for salad toppings or pile onto sandwiches with more pickles for lunch.
- Let leftovers cool before storing so they stay crisp.
- Reheat on a wire rack in the oven—it’s worth the extra minute.
- Don’t forget a side of your favorite dip for an easy snack.
 Save to Pinterest
 This pickle-brined chicken has earned me a few extra dinner invitations and even more recipe requests. I hope it brings as much lively crunch and good cheer to your table as it has to mine.
Recipe FAQs
- → How long should the chicken marinate?
-
Marinate 1–12 hours. A few hours brightens flavor; 8–12 hours gives deeper pickle infusion. Avoid over-marinating much longer to prevent overly soft texture from the acid.
- → Which cut is best — thighs or breasts?
-
Both work. Thighs stay juicier and tolerate longer marinating; breasts cook faster and benefit from careful patting dry and slightly reduced fry time to avoid drying out. Adjust time to reach 165°F/74°C.
- → How do I keep the crust extra crispy?
-
Pat chicken thoroughly dry before breading, press panko firmly into the coating, fry in batches to avoid crowding, and drain on a wire rack (not paper) so steam doesn’t soften the crust.
- → Can I bake instead of frying?
-
Yes. Brush or spray pieces with oil and bake at 425°F/220°C for 20–25 minutes, flipping halfway, until golden and 165°F/74°C. A convection setting helps crisp the panko.
- → How can I make this gluten-free or dairy-free?
-
Use gluten-free flour and gluten-free breadcrumbs or crushed gluten-free cereal for the breading. The dish is dairy-free as written; ensure all packaged ingredients are labeled gluten-free if needed.
- → What’s the best way to store and reheat leftovers?
-
Refrigerate in an airtight container up to 3 days. Reheat on a wire rack in a 375°F/190°C oven until warmed through and the crust re-crisps; avoid microwaving to preserve crunch.
