 Save to Pinterest
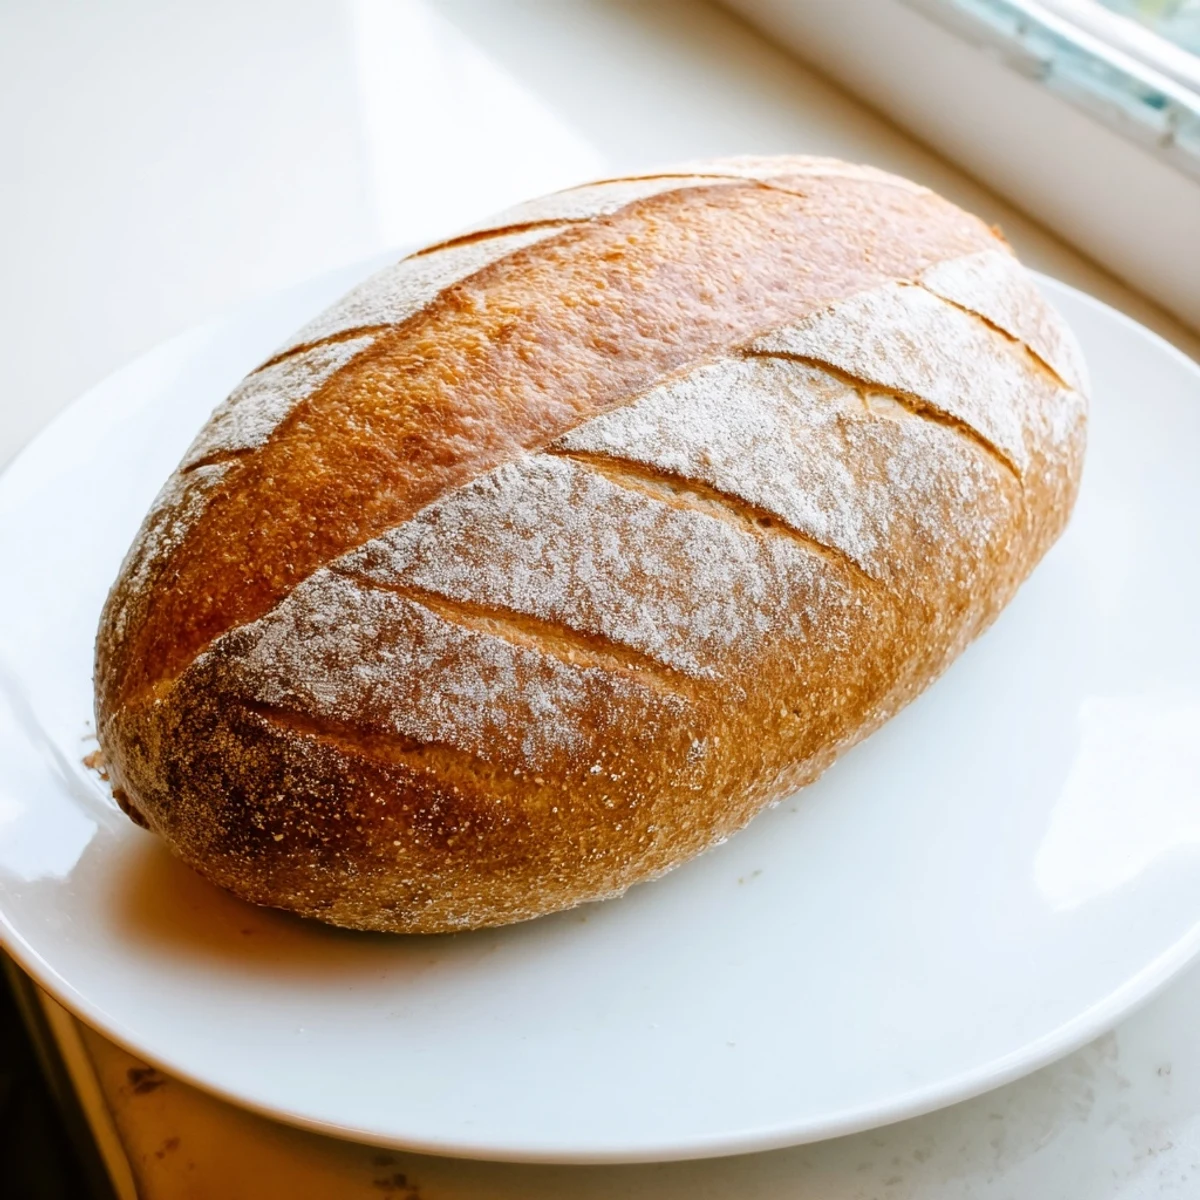
 Create an authentic Italian loaf with a perfectly crispy, golden crust and tender, chewy interior. This traditional bread delivers restaurant-quality results using basic pantry staples like bread flour, yeast, and olive oil. The steam-baking technique ensures that signature crackly crust while keeping the inside soft and airy.
Perfect your bread-making skills with straightforward kneading and proofing methods. The dough develops excellent structure through proper rising time, while the steam bath in the oven creates that bakery-style crust we all love. Slice thick for hearty sandwiches, tear chunks for dipping in extra virgin olive oil, or serve warm alongside your favorite pasta dishes and soups.
This versatile loaf freezes beautifully, so you can always have fresh-tasting bread on hand. Customize with herbs like rosemary or thyme for added depth, or keep it classic for that perfect neutral base that complements any meal.
My tiny apartment kitchen smelled like heaven that first afternoon I attempted homemade Italian bread. The yeast was bubbling away on the counter like a science experiment, and I remember thinking there was no way this simple mixture of flour and water could transform into something worth eating. But then the oven door opened, and that golden crust emerged, singing with that distinctive hollow tap that means you have actually done something right.
Last winter my neighbor smelled this baking and actually knocked on my door to ask what I was making. We ended up sharing the still warm loaf with some olive oil and talking for two hours about her childhood in Rome. Food has this magical way of bringing people together, especially when it involves bread.
Ingredients
- Bread flour: The higher protein content creates that satisfying chewy texture we love in Italian bread
- Active dry yeast: Make sure your water is warm but not hot, or you will kill the yeast before it can work its magic
- Olive oil: This keeps the dough tender and adds that subtle Mediterranean flavor
- Salt: Do not skip this or reduce it, salt is crucial for flavor and structure
- Cornmeal: Dusting your baking sheet prevents sticking and adds a rustic crunch to the bottom crust
Instructions
- Wake up the yeast:
- Dissolve yeast and sugar in warm water and wait until it gets foamy, about 5 to 10 minutes
- Mix the dough:
- Combine flour and salt in a large bowl, make a well in the center, then add the yeast mixture and olive oil
- Knead it out:
- Turn onto a floured surface and knead for 8 to 10 minutes until the dough feels smooth and elastic like a stress ball
- First rise:
- Place dough in an oiled bowl, cover, and let rise in a warm spot until doubled, about 1 to 1.5 hours
- Shape the loaf:
- Punch down gently, shape into a tight oval or round, then place on a parchment lined baking sheet
- Second rise:
- Cover loosely and let rise again for 45 minutes until puffy and slightly jiggly
- Get ready to bake:
- Preheat oven to 220°C or 425°F with an empty metal pan on the lowest rack
- Score and steam:
- Slash the top with a sharp knife, pour hot water into the empty pan for steam, then bake immediately
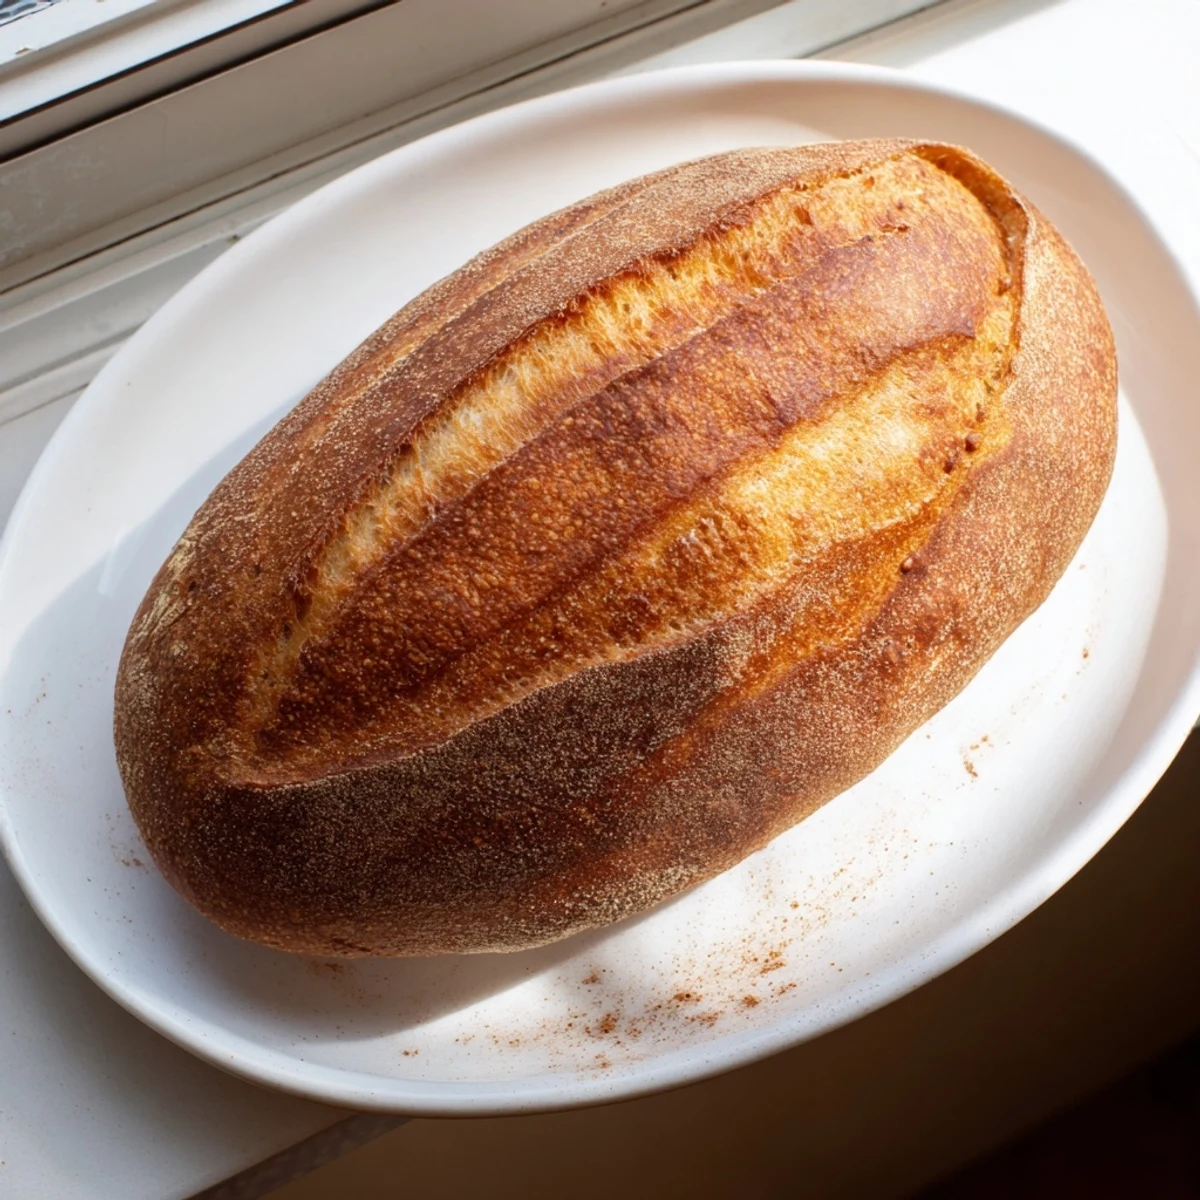
- Bake to golden:
- Bake for 30 to 35 minutes until deep golden brown and the bottom sounds hollow when tapped
- Cool completely:
- Let the loaf cool on a wire rack for at least 30 minutes before slicing, which is the hardest part
 Save to Pinterest
 My grandmother always said bread making is about patience and paying attention to how the dough feels rather than following a recipe exactly. She taught me to trust my hands, and now I understand what she meant when she said the dough will tell you when it is ready.
Understanding Your Dough
The dough should feel slightly tacky but not sticky, and it should bounce back when you poke it gently with your finger. If it is too dry, add water one tablespoon at a time. If it is too sticky, sprinkle in a little more flour.
The Secret to Steam
Professional bakeries use steam injection ovens, but at home we achieve the same effect with a pan of hot water. The steam keeps the crust soft initially, allowing the bread to expand fully before forming that beautiful crispy exterior.
Storing and Freezing
This bread stays fresh for about 2 days at room temperature wrapped in a cloth or paper bag. For longer storage, slice it before freezing so you can grab individual slices and toast them straight from frozen.
- Never store bread in the refrigerator, it actually goes stale faster there
- Revive day old bread by sprinkling with water and reheating at 180°C for 10 minutes
- Leftover bread makes incredible croutons or breadcrumbs for later use
 Save to Pinterest
 There is something deeply satisfying about making your own bread, and this recipe might just become your weekend ritual. Happy baking, and may your kitchen always smell like comfort.
Recipe FAQs
- → What makes Italian bread crusty?
-
The signature crust comes from baking at high temperature (220°C/425°F) with steam in the oven. Pouring hot water into a preheated metal pan creates steam that keeps the crust moist initially, allowing it to expand, then crisps up beautifully in the dry heat. This technique produces that authentic golden, crackly exterior.
- → How do I know when the bread is done baking?
-
Your bread is ready when it achieves a deep golden-brown color and sounds hollow when tapped on the bottom. This hollow sound indicates the interior has cooked through and moisture has evaporated properly. If you're unsure, you can also check with an instant-read thermometer—it should register about 200°F (93°C) at the center.
- → Can I make this without a stand mixer?
-
Absolutely. This dough mixes easily with a wooden spoon until it comes together, then kneads wonderfully by hand on a lightly floured surface. The 8-10 minute kneading time develops gluten structure regardless of method. Hand-kneading actually gives you better sensory feedback for proper dough consistency.
- → Why does my bread need to rise twice?
-
The first rise (bulk fermentation) allows yeast to ferment and develop flavor while the dough doubles in size. Punching down redistributes yeast and air bubbles. The second rise (proofing) gives the loaf its final shape and creates that light, airy interior texture. Skipping either step results in denser bread.
- → How should I store fresh Italian bread?
-
For best results, store at room temperature wrapped in a clean kitchen towel or paper bag for up to 2 days—plastic makes the crust soft. For longer storage, slice completely, wrap tightly in plastic and foil, then freeze for up to 3 months. Thaw slices at room temperature or toast directly from frozen.
- → Can I add herbs or other flavors?
-
Yes. Dried herbs like rosemary, thyme, or oregano (1-2 teaspoons) blend seamlessly into the dough during mixing. You can also add minced garlic, grated parmesan, or sun-dried tomatoes for variations. Keep additions to about ¼ cup total to maintain proper dough structure and rising ability.
