 Save to Pinterest
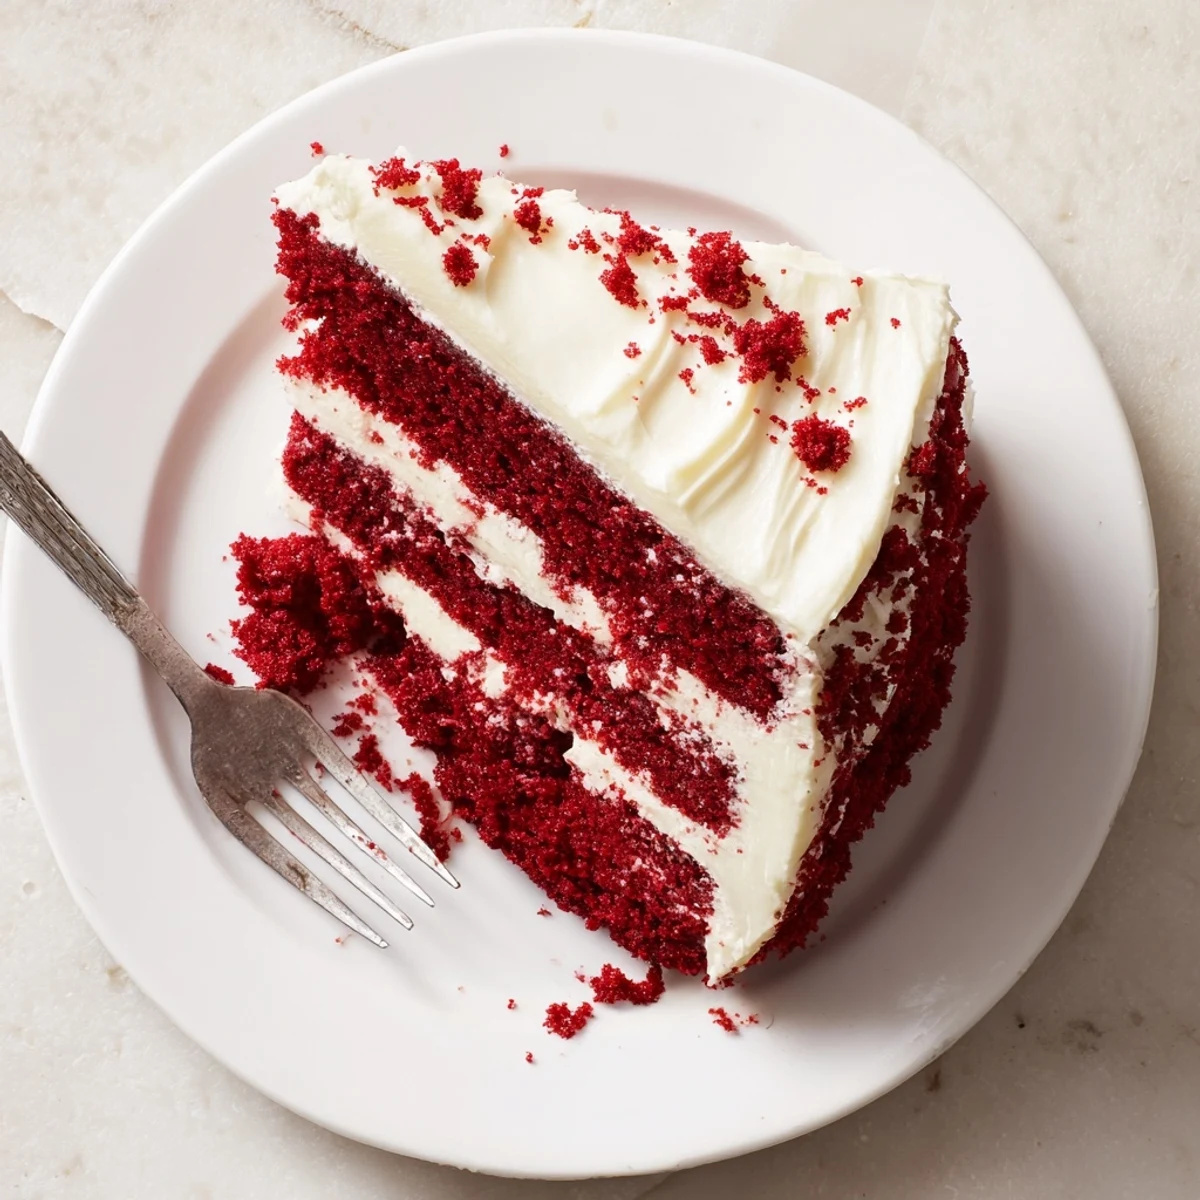
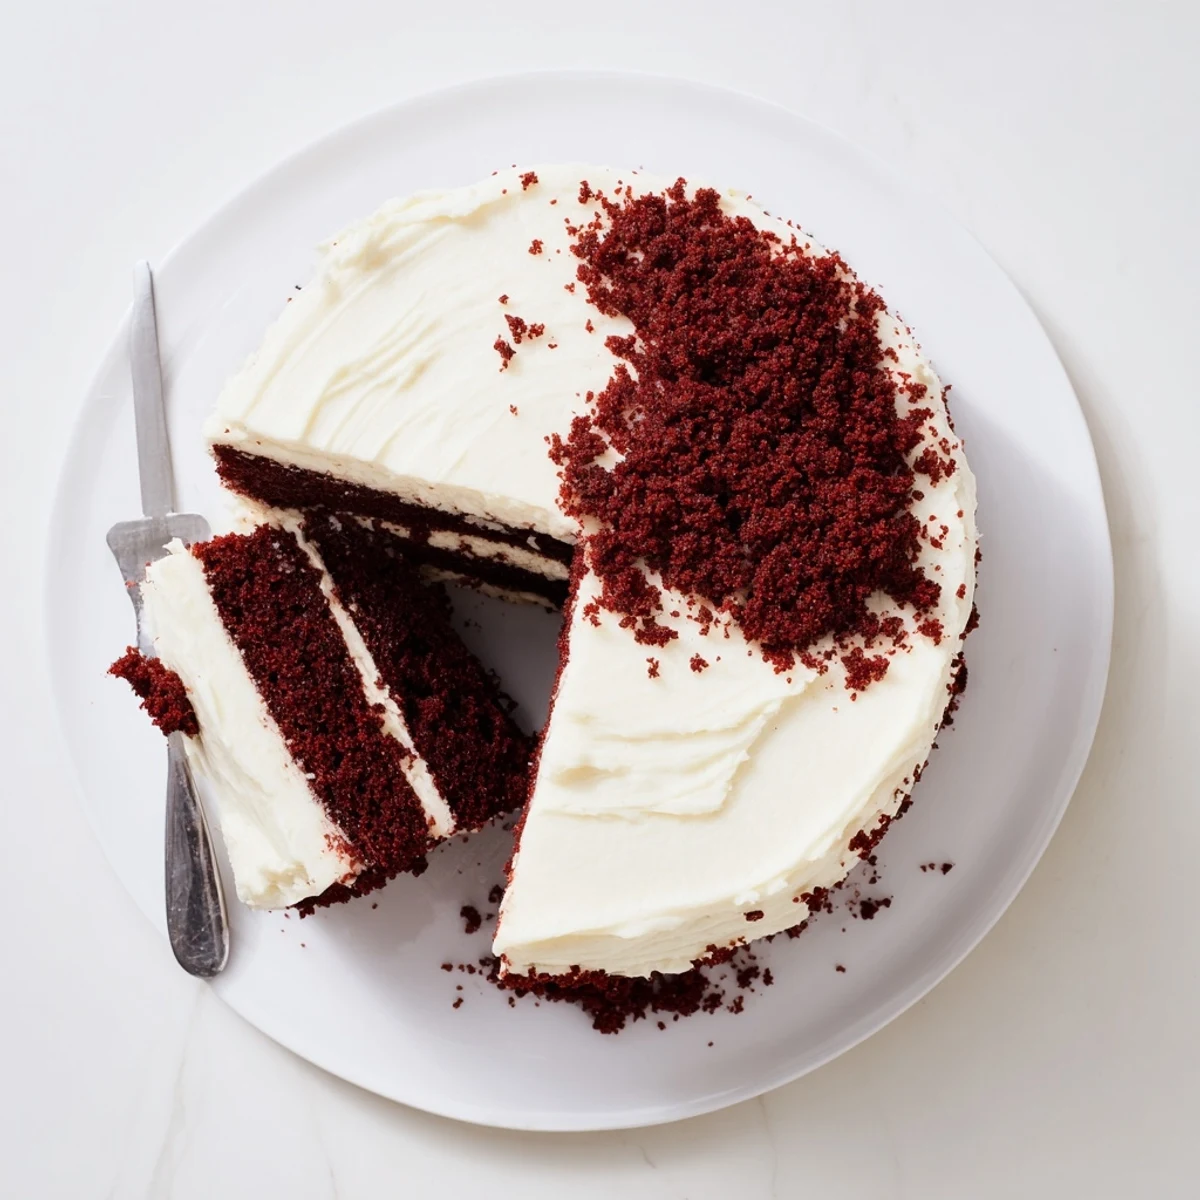
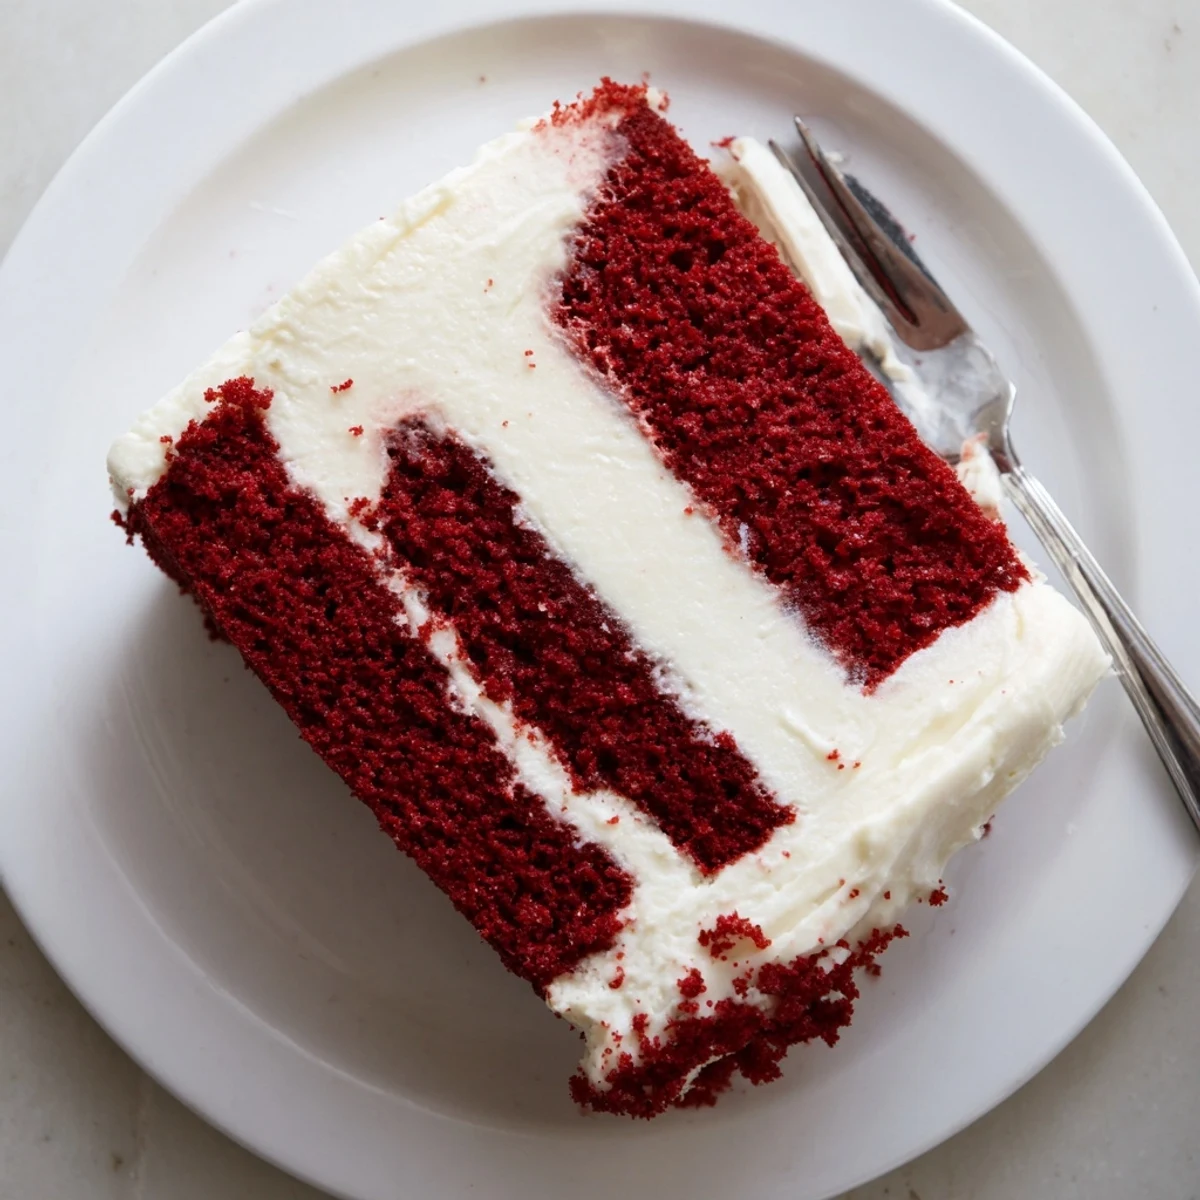
 This classic red velvet dessert features incredibly moist layers with a delicate chocolate undertone and signature crimson hue. The tangy cream cheese frosting creates the perfect balance of sweetness, while the tender crumb melts in your mouth. Ready in just one hour from start to finish, this stunning two-tier confection serves twelve generously and impresses at every gathering from birthday parties to holiday celebrations.
The first time I attempted red velvet cake, I ended up with what my sister called 'pink cornbread' because I skimped on the oil. That dense, slightly dry cake taught me that red velvet demands respect for its fat content. Now whenever I make it, I remember how buttery fingers and stained countertops are just part of the experience.
Last winter I made this cake for my best friend's birthday, and we ended up eating it straight from the cake stand with forks while watching movies. The contrast between that tangy frosting and the tender cocoa kissed cake layers had us scraping crumbs off the plate. Some desserts are meant for fancy occasions, but this one feels like home no matter where you serve it.
Ingredients
- All-purpose flour: The structure builder that holds everything together without making the cake tough
- Granulated sugar: Sweetens and tenderizes, creating that velvety crumb red velvet is famous for
- Baking soda: The leavening agent that works with the acidic buttermilk and vinegar for rise
- Fine salt: Enhances the chocolate flavor and balances sweetness
- Unsweetened cocoa powder: Just enough to give depth without overpowering the delicate velvet flavor
- Vegetable oil: The secret to staying moist for days, unlike butter which can firm up when chilled
- Buttermilk: Adds tanginess and reacts with baking soda for the tenderest crumb imaginable
- Large eggs: Room temperature eggs emulsify better into the batter for consistent texture
- Red food coloring: The signature hue that makes this cake instantly recognizable
- Vanilla extract: Rounds out all the flavors and adds that comforting bakery aroma
- White vinegar: Enhances the red color and reacts with baking soda for extra lift
- Cream cheese: Must be softened to room temperature or you will battle lumps in your frosting
- Unsalted butter: Adds richness to the frosting while letting you control the salt level
- Powdered sugar: Sifting is nonnegotiable unless you want specks in your silky smooth frosting
Instructions
- Preheat your oven with intention:
- Set it to 350°F and grease two 9inch cake pans thoroughly, then dust them with flour for guaranteed easy release
- Whisk the dry team:
- Sift flour, sugar, baking soda, salt, and cocoa powder into a medium bowl to aerate and combine evenly
- Combine the wet players:
- In a large bowl, whisk oil, buttermilk, eggs, food coloring, vanilla, and vinegar until completely uniform
- Merge the mixtures:
- Gradually fold dry ingredients into wet ingredients, mixing only until smooth to avoid developing tough gluten
- Distribute the love:
- Divide batter evenly between your prepared pans, using a kitchen scale if you want perfectly matching layers
- Bake to perfection:
- Slide pans into the oven for 28 to 30 minutes until a toothpick emerges clean from the center
- Practice patience while cooling:
- Let cakes rest in pans for 10 minutes, then turn them onto a wire rack to cool completely before frosting
- Make the frosting magic:
- Beat softened cream cheese and butter until smooth, then gradually add sifted powdered sugar with vanilla and salt until fluffy
- Assemble your masterpiece:
- Place one cake layer on your serving plate, frost the top, add the second layer, then frost the top and sides generously
- Chill for clean slices:
- Refrigerate the finished cake for 30 minutes so the frosting firms up for perfectly neat cuts
 Save to Pinterest
 This recipe became my go to after my grandmother asked me to bake something special for her 80th birthday. Seeing generations of my family gather around that ruby red cake, with frosting on their chins and seconds on their plates, reminded me why baking matters. Food is never just about ingredients.
The Secret To The Perfect Red Color
The acidity from buttermilk and vinegar actually enhances the red food coloring, making it pop more vibrantly. Natural cocoa powder works best here because Dutchprocessed cocoa can make the color look darker and less bright.
Frosting Like A Pro
I learned to apply a thin crumb coat first, chill the cake for 15 minutes, then add the final layer of frosting. This trick catches all those loose crumbs and keeps your final finish perfectly smooth and professional.
Storage And Make Ahead Tips
This cake actually tastes better on day two as the flavors meld and the moisture distributes throughout. The unfrosted layers can be wrapped tightly and frozen for up to three months if you want to get ahead.
- Wrap frosted cake slices individually for quick weekday treats
- Bring refrigerated cake to room temperature 30 minutes before serving
- The frosting firms up nicely, making this cake portable for potlucks
 Save to Pinterest
 Every slice of this cake carries memories of laughter filled kitchens and celebrations made sweeter. Hope it becomes part of your story too.
Recipe FAQs
- → Why is my red velvet cake dry?
-
Overbaking is the most common cause of dry texture. Remove the cake when a toothpick comes out with just a few moist crumbs. Using room-temperature ingredients and not overmixing the batter also ensures moisture retention.
- → Can I make red velvet cake ahead of time?
-
Yes, the cooled layers can be wrapped tightly and refrigerated for up to 2 days or frozen for 3 months. Thaw frozen layers overnight before frosting. The frosted cake also keeps well in the refrigerator for 3-4 days.
- → What gives red velvet its distinctive flavor?
-
The combination of buttermilk and vinegar creates a subtle tang, while cocoa powder provides mild chocolate notes. The cream cheese frosting adds richness and complements the delicate cocoa flavor perfectly.
- → How do I get the vibrant red color?
-
Use high-quality gel or liquid food coloring specifically formulated for baking. The acidity in the buttermilk and vinegar also enhances the red hue. For natural alternatives, beet juice powder can provide color, though results may vary.
- → Can I use cake flour instead of all-purpose?
-
Yes, cake flour creates an even more tender crumb. Use 1 cup plus 2 tablespoons of cake flour for every 1 cup of all-purpose flour called for in the recipe, or simply substitute the total amount for a lighter texture.
- → Why does my cream cheese frosting become runny?
-
Softened butter and cream cheese at the same temperature ensure proper consistency. Overbeating can also cause thinning. If the frosting becomes too soft, refrigerate for 15-20 minutes before spreading.
