
 Save to Pinterest
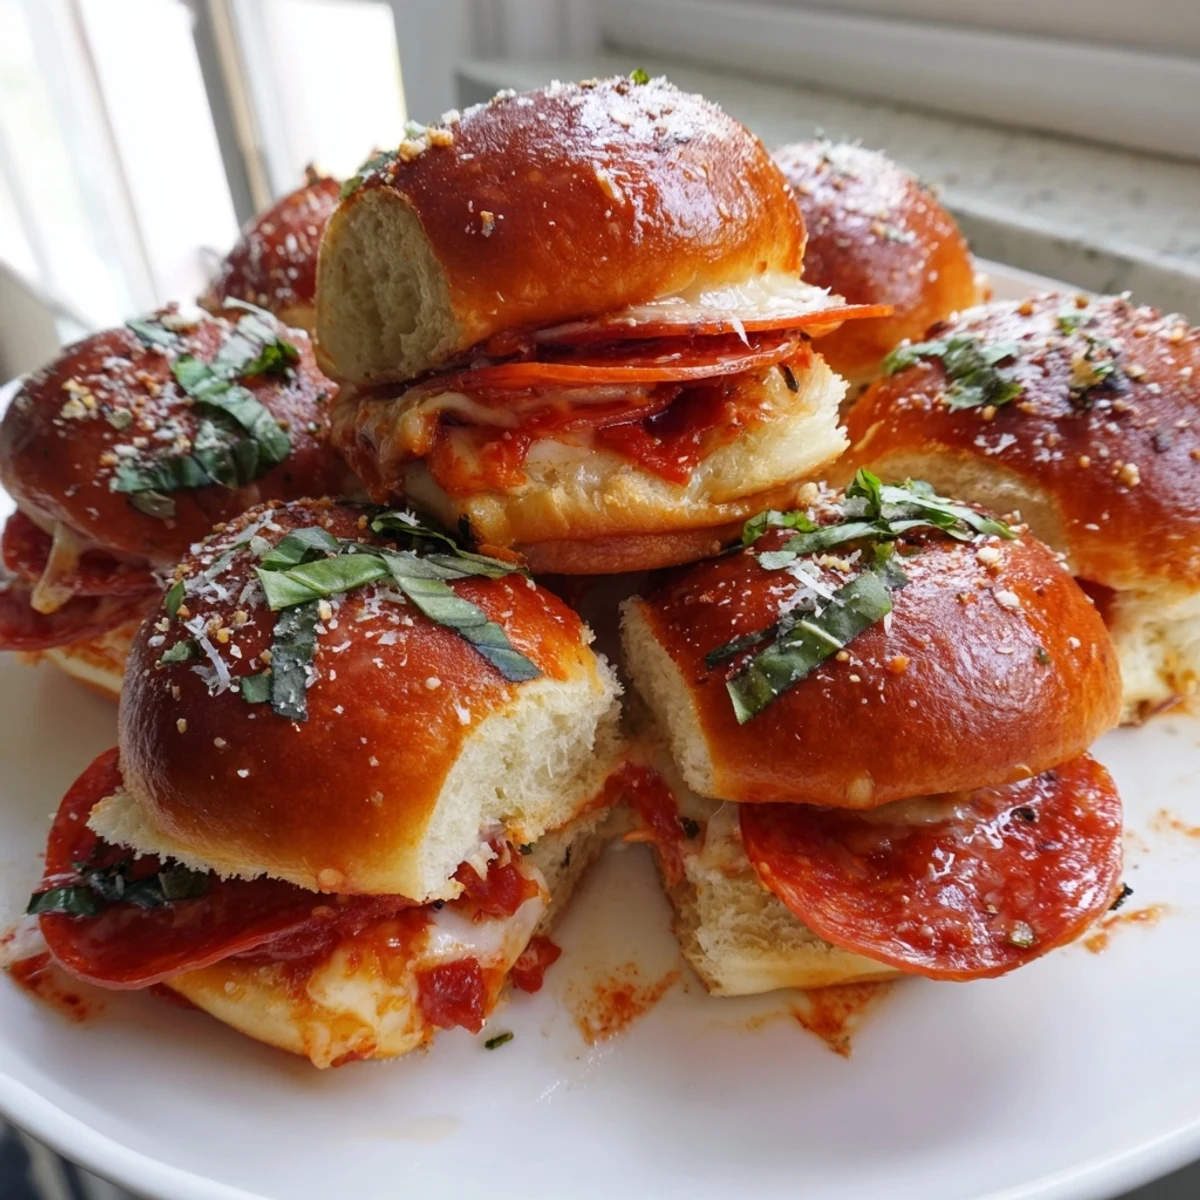
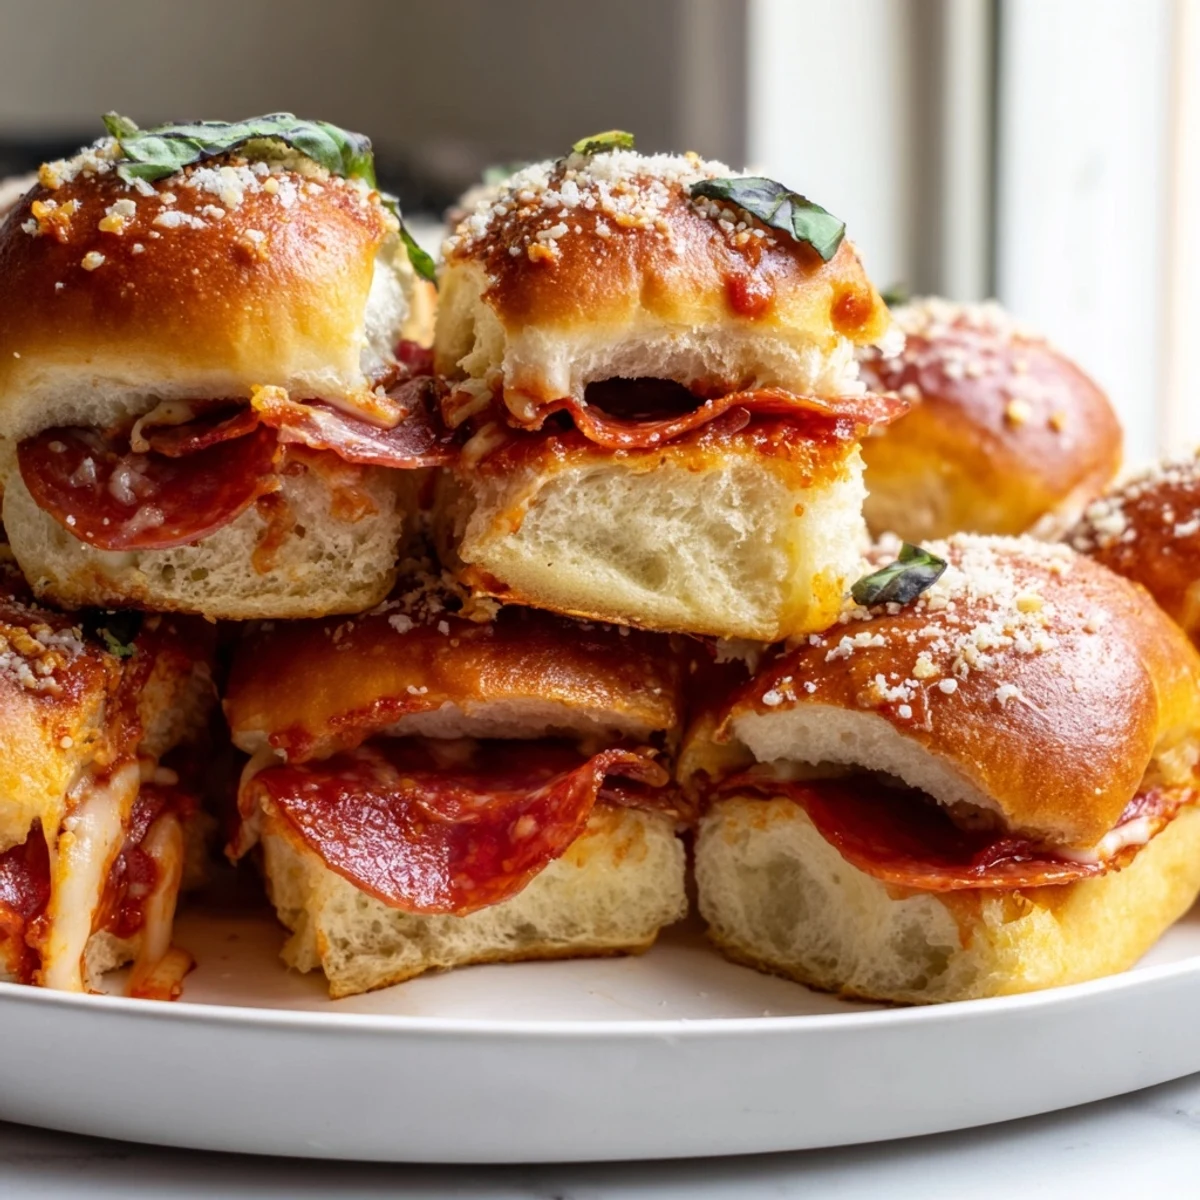
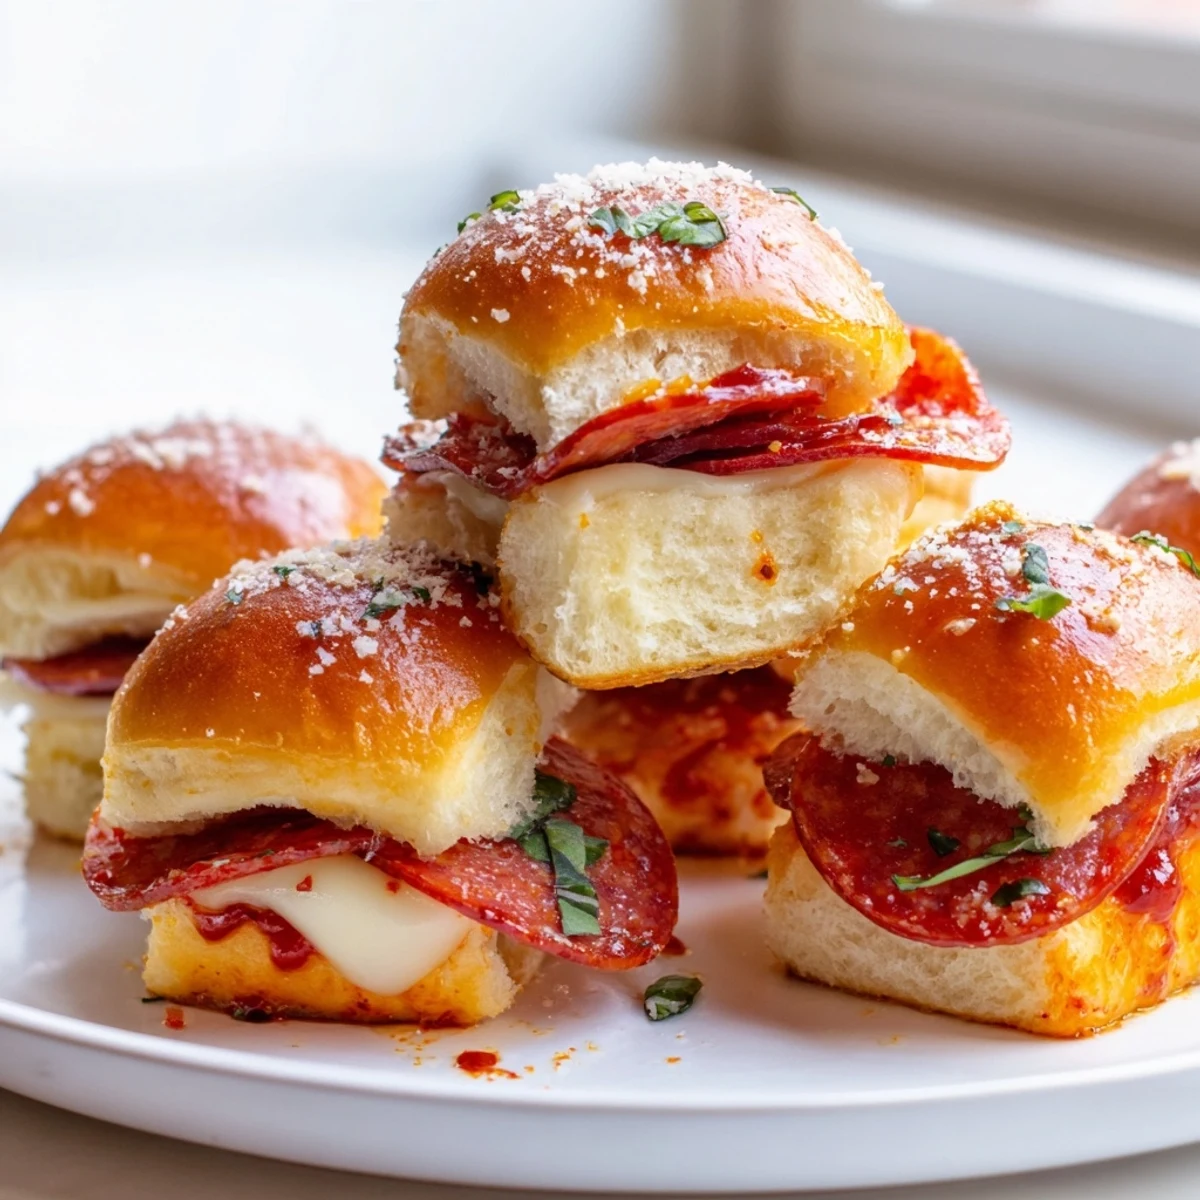
 These hot honey pepperoni sliders are built on soft Hawaiian-style rolls, layered with tangy pizza sauce, plenty of shredded mozzarella, and savory pepperoni slices.
A brushed-on glaze of melted butter, honey, and hot sauce gives each bun a glossy, sweet-heat finish that caramelizes beautifully in the oven.
Baked in a 9×13 dish until the cheese is bubbling and the tops are golden, they pull apart easily and are perfect for feeding a crowd or spicing up a weeknight dinner.
The rain was hammering against the kitchen window and my niece was standing on a stool asking why we could not just order pizza like normal people, and honestly I almost caved, but then I pulled a pack of Hawaiian rolls from the pantry and told her we were about to make something even better. The smell of melted butter and honey hit the oven door and she changed her tune fast, hovering over the baking dish asking if they were done yet every thirty seconds. That is the thing about sliders, they turn a regular evening into something loud and happy without any real effort.
I brought a tray of these to a friend's playoff watching party once and they vanished before halftime, replaced by a circle of people standing around the empty dish looking mildly betrayed that there were no more. Someone actually texted me the next morning asking for the recipe with a photo of the greasy parchment paper still sitting on their counter, which felt like the highest compliment.
Ingredients
- 12 slider buns or Hawaiian rolls (unsliced): Keeping them attached is the whole trick here, because it lets you build the whole slab at once and slice after baking.
- 2 cups shredded mozzarella cheese: Use whole milk mozzarella if you can find it, because the lower moisture stuff does not melt with the same stretchy drama.
- 1/4 cup grated Parmesan cheese: This goes on top and creates a salty, slightly crisp crust that contrasts beautifully with the soft rolls.
- 36 slices pepperoni: It sounds like a lot but three per slider is the sweet spot for coverage without making them greasy.
- 1 cup pizza sauce: Any jarred sauce works, but go with one you actually enjoy eating because it is the backbone flavor of the whole thing.
- 2 tbsp unsalted butter (melted): The carrier for the glaze, and unsalted lets you control the seasoning balance.
- 1 tbsp honey: This is what makes the tops caramelize into something golden and slightly sticky.
- 1 tsp hot sauce: Sriracha or hot chili oil both work, and you can adjust up or down depending on your crowd.
- 1 tsp dried Italian herbs: A simple blend of oregano and basil makes the glaze taste like actual pizza.
- 1/2 tsp garlic powder: Adds a savory depth that ties everything together without raw garlic burning in the oven.
- Pinch of red pepper flakes (optional): A finishing touch for those who want a little more fire on top of the heat already in the glaze.
- Fresh basil leaves (optional): Torn over the top right before serving, and they add a bright pop that cuts through all that richness.
Instructions
- Get the oven ready:
- Preheat to 375 degrees F and grease your 9x13 baking dish so nothing sticks when the cheese starts bubbling over the edges.
- Slice the buns as a slab:
- Using a serrated bread knife, cut the entire block of rolls in half horizontally so you have one solid top piece and one solid bottom piece, then place the bottoms in the dish.
- Build the sauce and cheese layer:
- Spread the pizza sauce evenly across the bottom buns and scatter half the mozzarella over it so it melts into the sauce and acts like glue for the pepperoni.
- Lay down the pepperoni:
- Arrange the slices in a single even layer across the whole slab, overlapping slightly where needed, then pile the rest of the mozzarella on top.
- Cover and cap:
- Place the top slab of buns over the filling and press down gently so everything settles together like a big sandwich waiting to be transformed.
- Make the honey butter glaze:
- Stir together the melted butter, honey, hot sauce, garlic powder, and Italian herbs in a small bowl until combined, then brush it generously over every inch of the roll tops.
- Finish with Parmesan:
- Sprinkle the grated Parmesan and red pepper flakes over the glazed tops so they bake into a golden, slightly crunchy cap.
- Bake covered then uncovered:
- Cover loosely with foil and bake for 15 minutes, then remove the foil and bake 5 more minutes until the cheese is fully melted and the tops are beautifully golden.
- Cool slightly and serve:
- Let the sliders rest for about 5 minutes so the cheese sets just enough to hold together when you slice, then garnish with fresh basil and cut along the roll seams.
 Save to Pinterest
 There is something about pulling a bubbling tray of sliders from the oven that makes everyone in the house migrate to the kitchen without being called. It is the kind of food that does not need a plate or a fork or an excuse, just hungry hands and maybe a napkin.
What to Serve Alongside
These sliders are rich and bold on their own, so I usually pair them with something simple like a Caesar salad or roasted vegetables to balance things out. A bowl of warmed extra pizza sauce on the side for dipping is never a bad idea, and neither is a cold drink to cut through the heat.
Making Them Your Own
You can swap the pepperoni for turkey pepperoni or even plant based slices if you want a lighter or vegetarian version without changing the method at all. Sometimes I tuck a few banana peppers or caramelized onions between the layers when I am feeling ambitious, and once I used garlic butter instead of plain butter for the glaze and almost cried it was so good.
Getting Ahead and Storing Leftovers
You can assemble the whole tray a few hours ahead and keep it covered in the fridge until you are ready to bake, which makes this a reliable party option. Leftovers keep well in an airtight container in the fridge for up to three days and reheat best in a 350 degree oven for about ten minutes.
- Assemble in the morning and bake right before guests arrive for maximum impact with minimum stress.
- Avoid the microwave for reheating because it makes the rolls soggy and sad.
- Always slice along the natural seams of the rolls for the cleanest looking sliders.
 Save to Pinterest
 Every time I make these I think about how the simplest foods often create the loudest joy, and that is really all you need to know. Pass the napkins and enjoy every sticky, cheesy bite.
Recipe FAQs
- → Can I make these sliders ahead of time?
-
Yes, you can assemble the sliders in the baking dish, cover tightly with foil, and refrigerate for up to 24 hours before baking. Add the honey butter glaze just before putting them in the oven. You may need to add a few extra minutes to the covered baking time if they go in cold.
- → What's the best type of rolls to use?
-
Hawaiian sweet rolls or soft slider buns work best because they hold together well and have a slight sweetness that complements the spicy honey glaze. Avoid crusty rolls, as they won't pull apart as nicely after baking.
- → How do I store and reheat leftovers?
-
Store leftover sliders in an airtight container in the refrigerator for up to 3 days. To reheat, place them in a 350°F oven covered with foil for about 10 minutes, or microwave individual sliders for 30–45 seconds until warmed through.
- → Can I freeze baked sliders?
-
You can freeze them after baking. Wrap the cooled sliders tightly in foil and place in a freezer bag for up to 2 months. Thaw overnight in the fridge and reheat in a 350°F oven until heated through and the cheese melts again.
- → How can I make these less spicy for kids?
-
Simply reduce or omit the hot sauce and red pepper flakes from the honey butter glaze. The honey alone adds a lovely sweetness that kids enjoy. You can also use mild pepperoni or substitute with cooked ham.
- → What should I serve with these sliders?
-
They pair well with a simple side salad, roasted vegetables, or classic party sides like coleslaw and potato chips. Extra warm pizza sauce on the side for dipping is always a hit.
