 Save to Pinterest
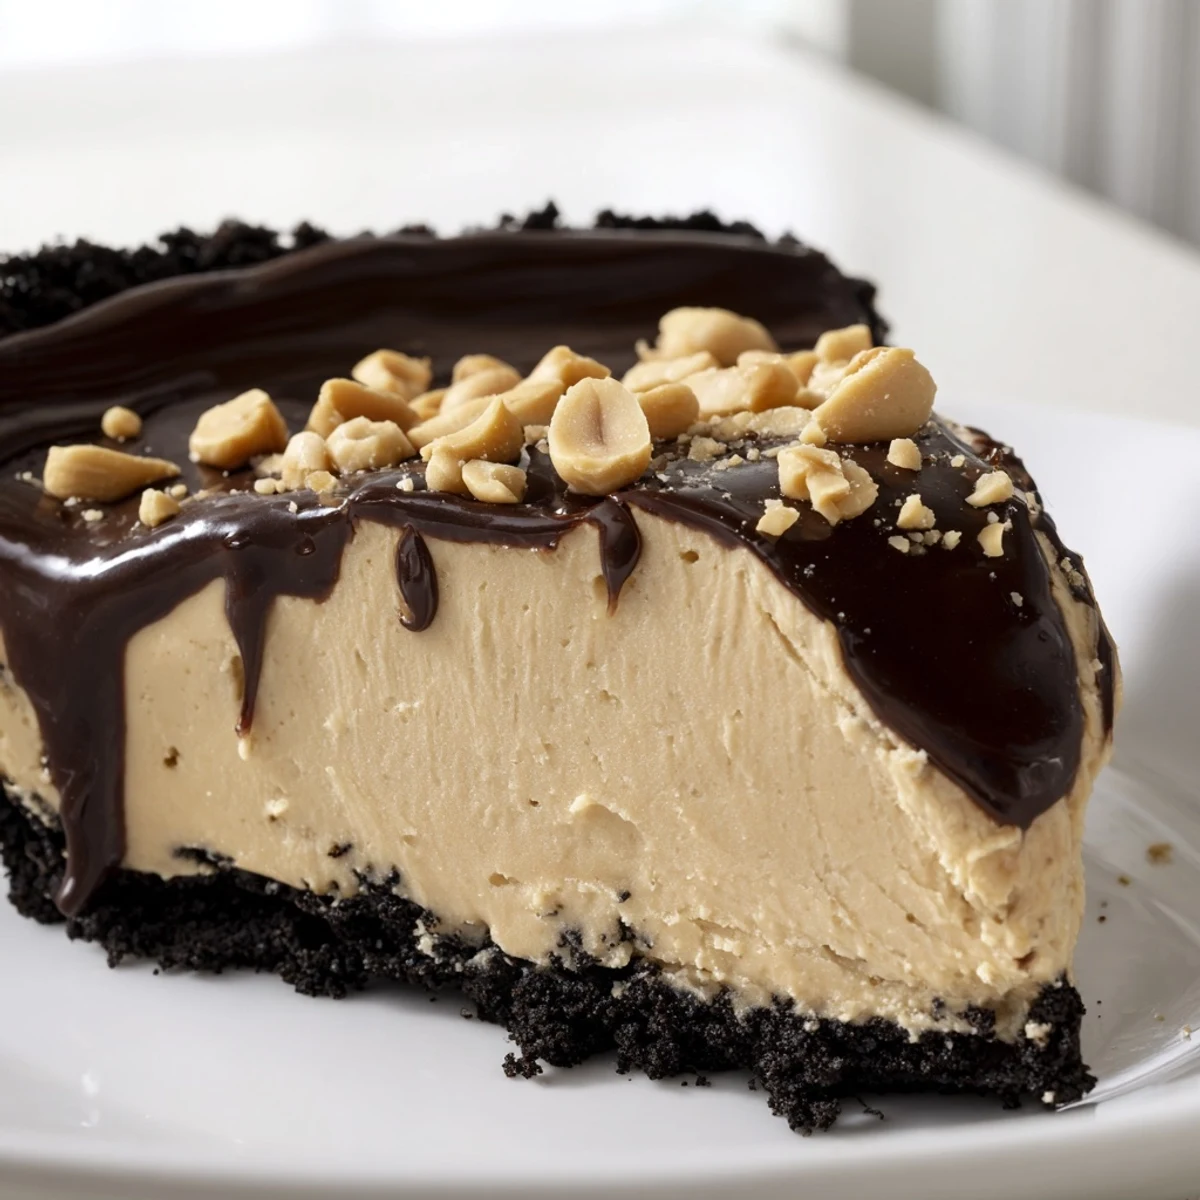
 This indulgent dessert combines a rich chocolate cookie crust with an incredibly smooth peanut butter filling. The creamy center gets its luxurious texture from whipped cream folded into a peanut butter and cream cheese base. After just 20 minutes of active preparation, the pie sets in the refrigerator for four hours, developing a firm yet velvety consistency.
Optional chocolate ganache topping adds an extra layer of decadence, while chopped peanuts provide satisfying crunch. The balance of salty and sweet flavors makes this a crowd-pleasing finish to any meal. Simply chill, slice, and serve this impressive yet effortless treat.
The afternoon sun hit my kitchen counter just right as I pressed that chocolate crumb crust into the pie dish, and something about the way the butter melted into those dark cookie crumbs told me this would be special. I had been experimenting with no-bake desserts for weeks, trying to find something that felt indulgent but wouldn't keep me tethered to the oven all summer.
My brother came over unexpectedly that day, watched me fold the whipped cream into the peanut butter mixture, and literally hovered by the fridge until it set. We ended up eating it straight from the pie dish with two spoons when the four-hour wait felt like absolute torture.
Ingredients
- Chocolate sandwich cookies: I have learned that crushing these with their cream filling intact gives you a fudgier, more cohesive crust that holds together beautifully when sliced
- Unsalted butter: Melted just until it shines, this binds the chocolate crumbs into something that tastes like a gourmet cookie bar bottom
- Creamy peanut butter: Room temperature makes all the difference here, preventing any lumpy surprises in your silky filling
- Cream cheese: Softened completely so it blends seamlessly, adding that luxurious tangy undertone that cuts through the peanut butter richness
- Powdered sugar: This sweetens while also helping stabilize the filling structure without any graininess
- Heavy cream: Cold straight from the refrigerator, whipped to stiff peaks, it transforms the dense peanut butter mixture into something cloudlike
- Vanilla extract: A teaspoon deepens all the flavors and makes the peanut butter taste more pronounced and rounded
- Chocolate chips: Semi-sweet balances the sweetness perfectly while adding that sophisticated finishing touch
Instructions
- Build the chocolate foundation:
- Crush those cookies into fine, uniform crumbs, then stir in melted butter until every piece is coated and the mixture holds together when squeezed. Press it firmly into your pie dish, working up the sides, then chill while you make the magic happen above.
- Create the peanut butter cloud:
- Beat together peanut butter, cream cheese, and powdered sugar until completely smooth, then whip your cold cream with vanilla until stiff peaks form. Fold the whipped cream gently into the peanut butter base, spreading it into your waiting crust with an offset spatula.
- Add the chocolate crown if you want:
- Heat cream until steaming, pour over chocolate chips, and wait two minutes before stirring into glossy ganache. Spread this over the peanut butter layer and scatter chopped peanuts across the top like edible confetti.
- Exercise patience:
- Let the pie chill for at least four hours until everything firms into that perfect sliceable consistency.
 Save to Pinterest
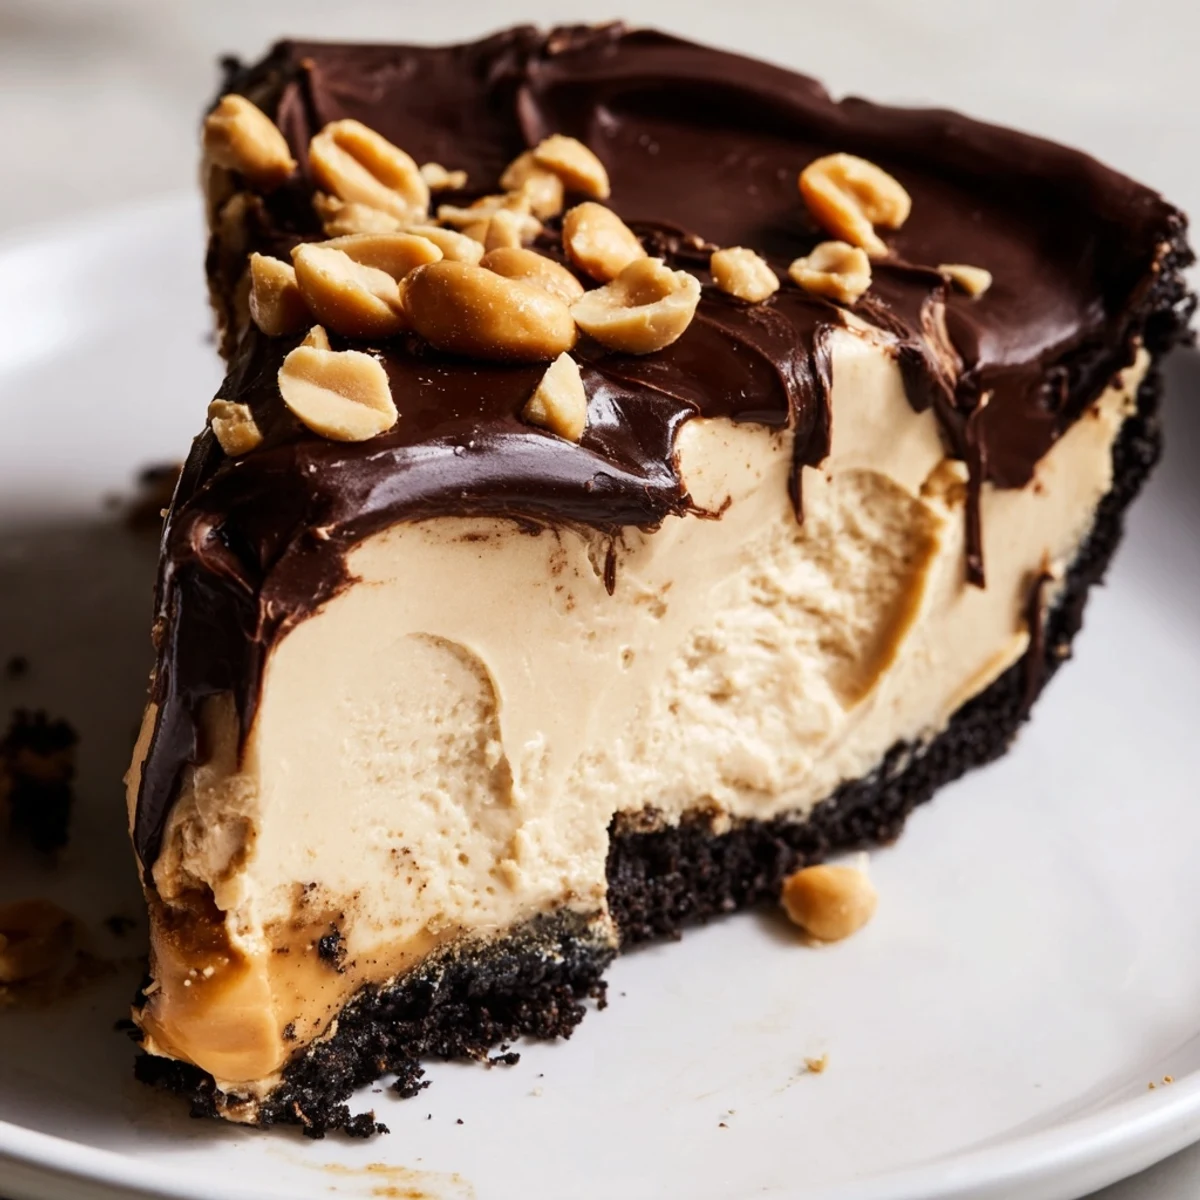
 That first slice revealed layers that looked almost too perfect to cut into, and the silence around the table as everyone took their first bite was the only review I needed. My friend Sarah texted me the next morning asking for the recipe, saying she had been dreaming about that peanut butter filling all night.
Making It Yours
Crunchy peanut butter transforms the filling into something with incredible texture, and I have found that a pinch of flaky salt on top makes the chocolate sing even louder.
Timing Strategy
Making this the night before removes all the stress, and the flavors actually develop more depth when they have time to get acquainted in the refrigerator.
Serving Secrets
A warm knife dipped in hot water creates those picture perfect slices, and I always keep a can of whipped cream nearby for anyone who wants to go completely overboard with garnish.
- Dip your knife in warm water between slices for clean edges
- Let it sit at room temperature for ten minutes before serving for the creamiest texture
- Store leftovers covered in the refrigerator for up to five days
 Save to Pinterest
 This is the kind of dessert that makes people remember exactly where they were and who they were with when they first tasted it.
Recipe FAQs
- → Can I make this peanut butter pie ahead of time?
-
Yes, this dessert actually benefits from being made 1-2 days in advance. The extended chilling time allows the flavors to meld and the filling to set completely, making it perfect for party planning.
- → What type of peanut butter works best?
-
Creamy commercial peanut butter creates the smoothest texture. Natural varieties with separated oil may affect consistency. For extra texture, swap half the creamy peanut butter with crunchy version.
- → How long does the pie need to chill before serving?
-
Minimum chilling time is 4 hours for proper set, but overnight chilling produces the firmest slices. The pie can be stored in the refrigerator for up to 5 days when covered well.
- → Can I freeze this dessert for later?
-
Yes, freeze the whole pie for up to 2 months. Thaw overnight in refrigerator before serving. Individual slices also freeze well—wrap each tightly in plastic wrap.
- → Is the chocolate ganache topping necessary?
-
The ganache is optional but highly recommended for chocolate lovers. It adds a rich layer that complements the peanut butter beautifully. Skip it if you prefer a simpler presentation or want to reduce preparation time.
