 Save to Pinterest
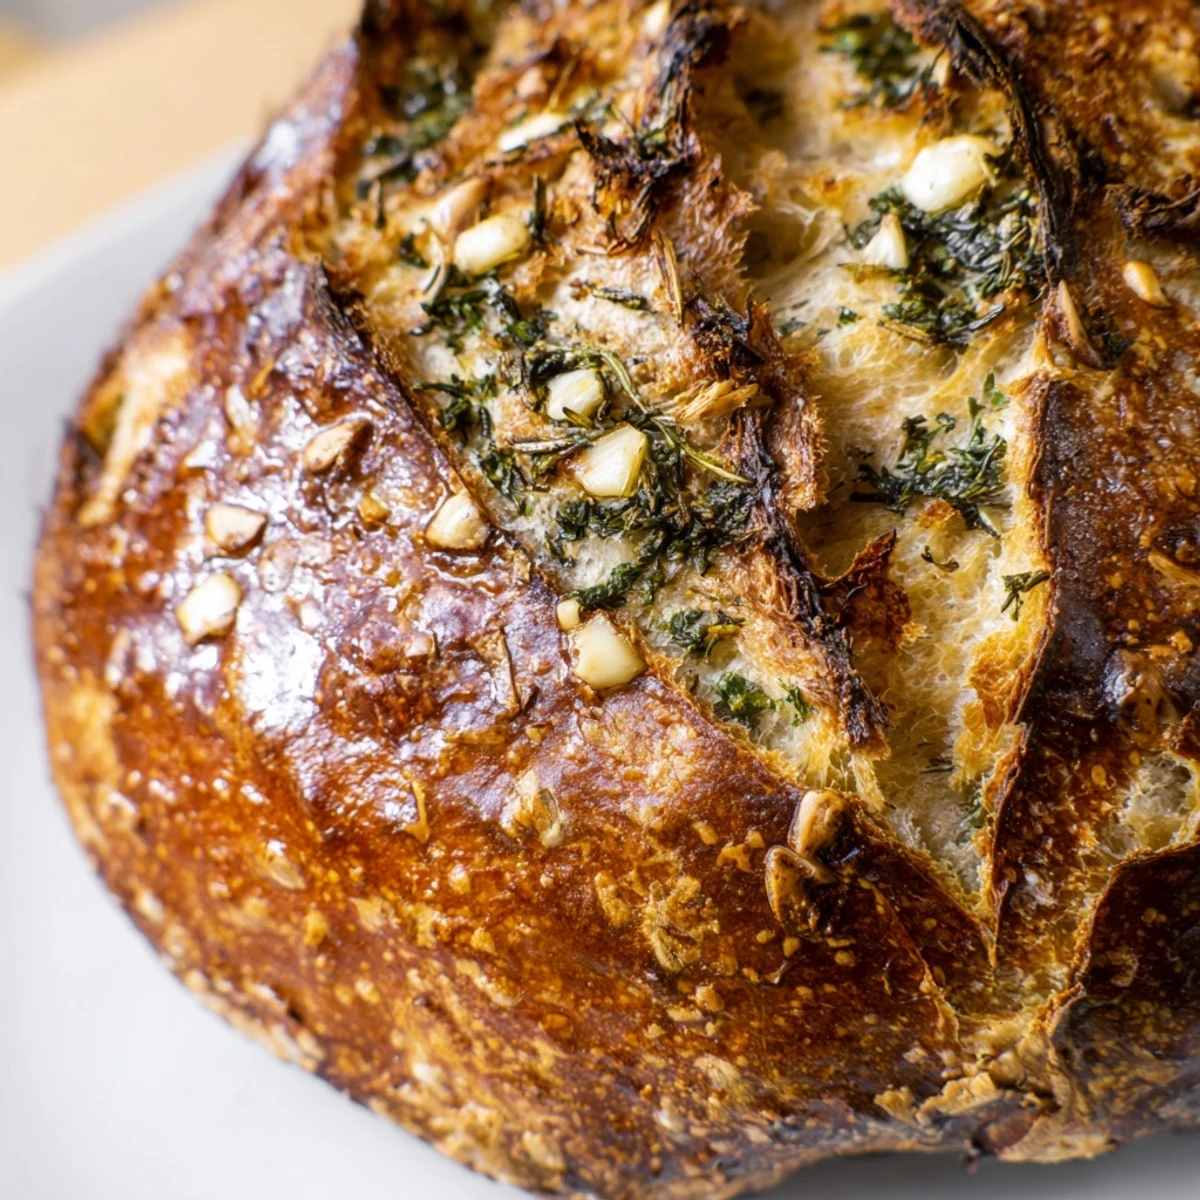
 This artisan-style loaf combines the earthy aroma of roasted garlic with fresh rosemary, thyme, and parsley. The Dutch oven baking technique creates professional bakery results at home—crackly crust outside, pillowy soft inside. With just 20 minutes of active preparation and a simple rise time, you'll enjoy homemade bread that rivals any bakery.
The first time I made garlic bread in a Dutch oven, my entire apartment building smelled like an Italian bakery. My neighbor actually knocked on my door to ask what restaurant I'd ordered from, and when I told her I'd baked it myself, she looked at me like I'd revealed a magic trick. That aroma of garlic and rosemary hitting the hot air just before the lid goes on still makes my stomach growl every single time.
Last winter, during a particularly brutal snowstorm, I made three loaves back to back just to keep the house warm and filled with that comforting bread smell. My roommates and I stood around the oven watching through the glass door as the bread rose, and when we finally tore into that first loaf, steam curling off each piece, we forgot entirely about being snowed in. That's the kind of memory this bread creates.
Ingredients
- Bread Flour: Higher protein content than all purpose gives you that professional texture and structure
- Salt: Don't skip or reduce this it's crucial for flavor and proper yeast behavior
- Active Dry Yeast: Make sure your water is bath temperature not hot, or you'll kill the yeast before it even starts working
- Warm Water: The liquid that brings everything together, activating the yeast and hydrating the flour
- Olive Oil: Adds tenderness and keeps the crust from becoming rock hard
- Garlic: Fresh minced is best but in a pinch, garlic powder works too
- Fresh Rosemary: Woody and piney, it holds up beautifully to high heat baking
- Fresh Thyme: Adds an earthy subtle floral note that balances the garlic
- Fresh Parsley: Brings brightness and color plus that classic garnish finish
- Melted Butter: The final brush that gives the crust that irresistible sheen
Instructions
- Make the Dough Base:
- Whisk together your flour, salt, and sugar in a large bowl until well combined, then stir in the yeast until it's evenly distributed throughout the dry ingredients.
- Combine Wet and Dry:
- Pour in the warm water and olive oil, then stir with your wooden spoon until you have a shaggy, sticky dough that holds together but looks messy and imperfect.
- Add the Flavor:
- Fold in your minced garlic and chopped herbs until they're speckled throughout the dough, taking a moment to appreciate how gorgeous it looks already.
- Let It Rise:
- Cover your bowl with plastic wrap or a damp kitchen towel, then walk away for 2 hours and let the yeast do its magical work.
- Shape Your Loaf:
- Turn the risen dough onto a floured surface and gently fold the edges underneath until you have a neat round, using just enough flour to keep it from sticking.
- Second Rise:
- Place your shaped dough on parchment paper, cover loosely with a towel, and let it rest for 30 minutes while you preheat your oven.
- Preheat Like a Pro:
- Put your Dutch oven with its lid on in the oven and crank it to 450F, letting it get screaming hot for at least 30 full minutes.
- The Transfer:
- Carefully lift your dough using the parchment paper like a sling and lower it into the blazing hot Dutch oven.
- Score and Cover:
- Use a sharp knife to make a quick slash across the top of the loaf, then immediately put the heavy lid back on.
- Bake Covered:
- Let it steam inside the Dutch oven for 30 minutes, creating that gorgeous crust that makes artisan bread so special.
- The Reveal:
- Remove the lid and bake another 15 to 20 minutes until the crust is deeply golden and the bread sounds hollow when tapped.
- The Finishing Touch:
- Brush the hot bread with melted butter and sprinkle with fresh herbs, then try to resist cutting into it while it's still warm.
 Save to Pinterest
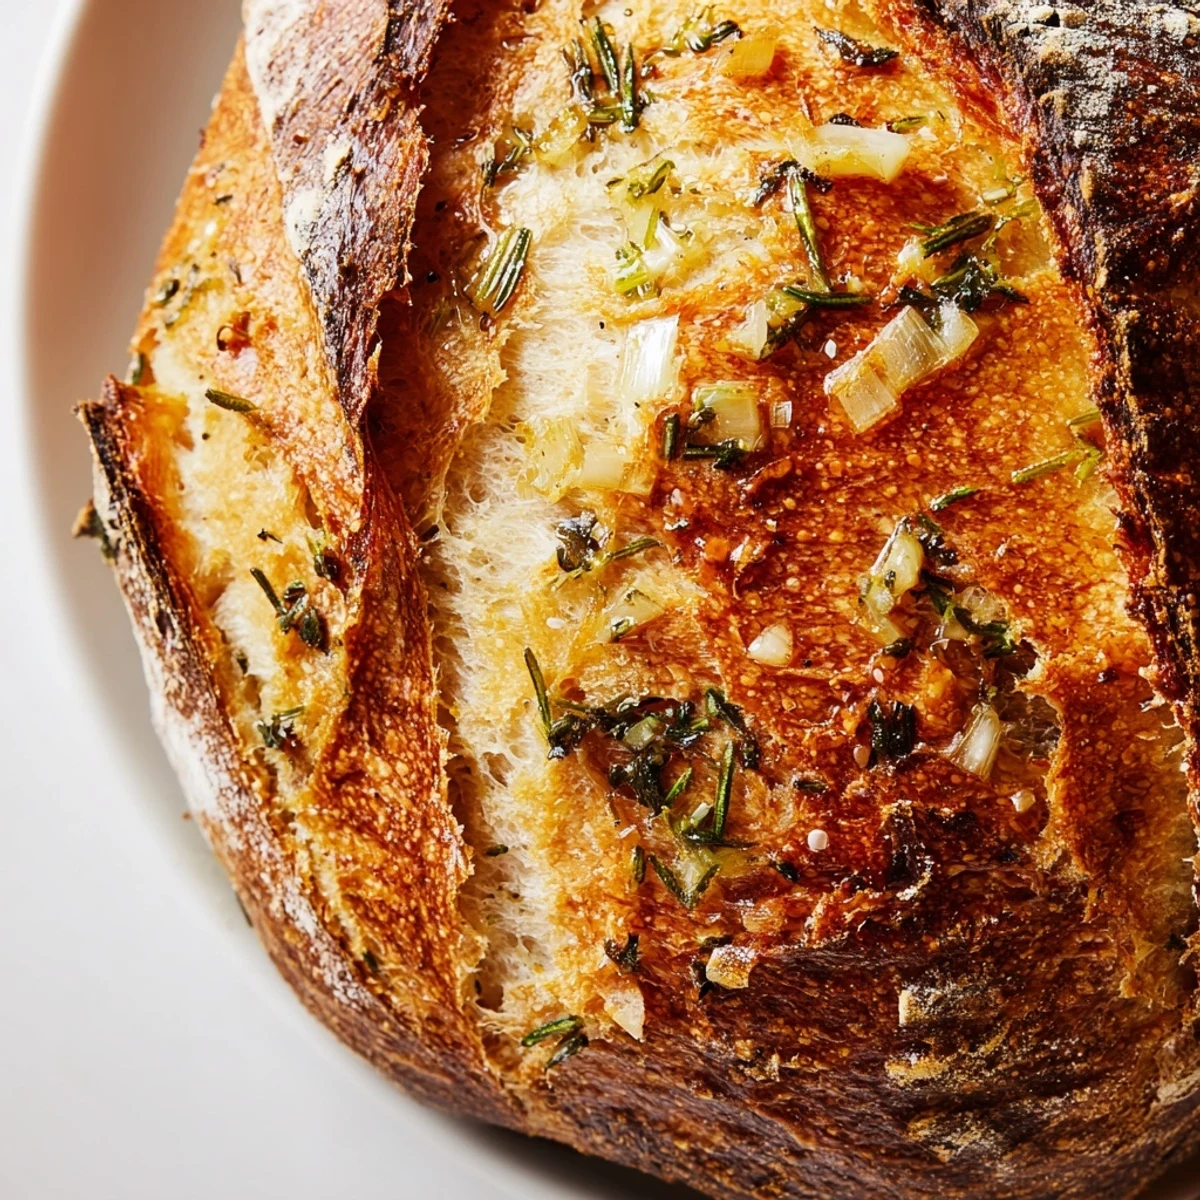
 This bread has become my go to for housewarming gifts because nothing makes people feel more welcome than walking into a home filled with the smell of fresh baked bread. Last month I brought a loaf to a potluck and it was gone before people even made it to the main dishes, with three different friends asking for the recipe before they'd even finished their first slice.
Making It Ahead
The dough can actually be mixed the night before and kept in the refrigerator, which develops an even deeper flavor profile. Just let it come to room temperature for about an hour before shaping and baking, or extend the rising time slightly since cold dough takes longer to wake up.
Herb Substitutions
While the classic rosemary and thyme combination is hard to beat, I've had great success mixing in chopped fresh basil or even a pinch of red pepper flakes for some heat. Just remember that dried herbs are more concentrated, so use only about a third of the amount if you're substituting dried for fresh.
Storage and Serving Suggestions
This bread keeps remarkably well for a few days wrapped in a cloth or paper bag, which maintains that perfect crust texture better than plastic. Never refrigerate bread, as it actually stales faster in the cold environment.
- Slice it thick and grill with extra butter and garlic for next level garlic bread
- Cubed and toasted, it makes the most incredible croutons you've ever had
- Dry slightly and pulse in a food processor for the most flavorful homemade breadcrumbs
 Save to Pinterest
 There's something deeply satisfying about pulling a steaming, golden loaf from your own oven, and I hope this recipe brings that same joy to your kitchen. Happy baking, friend.
Recipe FAQs
- → Can I use dried herbs instead of fresh?
-
Yes, substitute dried herbs using 1 teaspoon of each dried herb for every tablespoon of fresh. Add them directly to the dough with the garlic.
- → What size Dutch oven works best?
-
A 4-quart or larger Dutch oven with a tight-fitting lid is ideal. The enclosed space creates steam for that signature crispy crust.
- → How should I store this bread?
-
Wrap in a clean kitchen towel or paper bag and keep at room temperature for up to 2 days. For longer storage, slice and freeze.
- → Can I make this dairy-free?
-
Replace the butter brush with olive oil. The result will still be delicious with a slightly different flavor profile.
- → Why score the bread before baking?
-
Scoring creates a controlled weak point that allows the dough to expand properly during baking, giving you that beautiful artisanal look and preventing irregular splitting.
