 Save to Pinterest
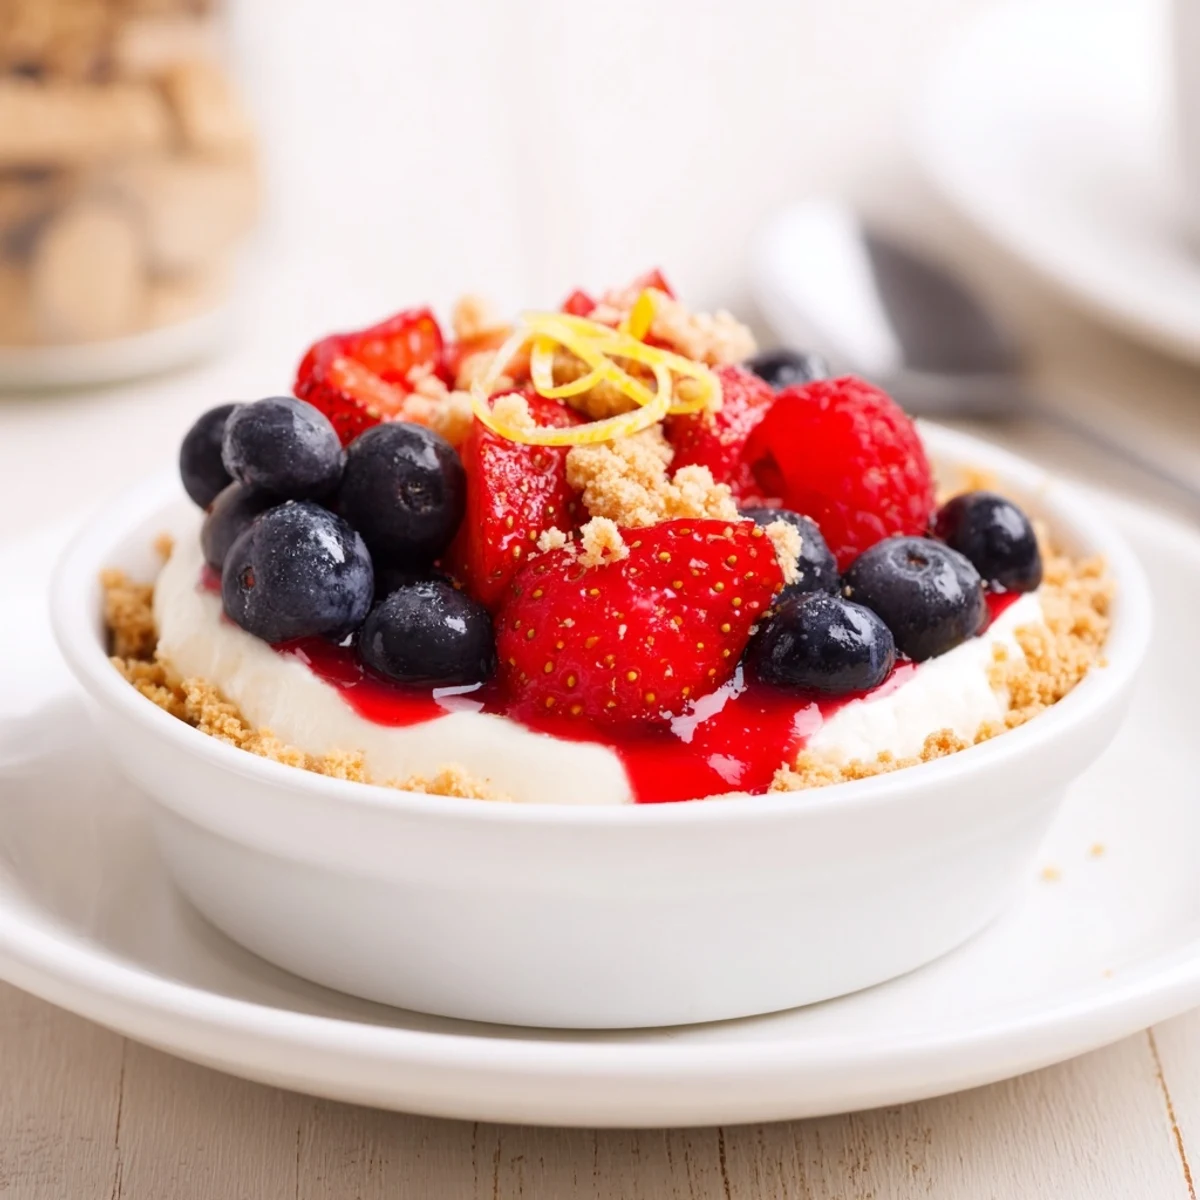
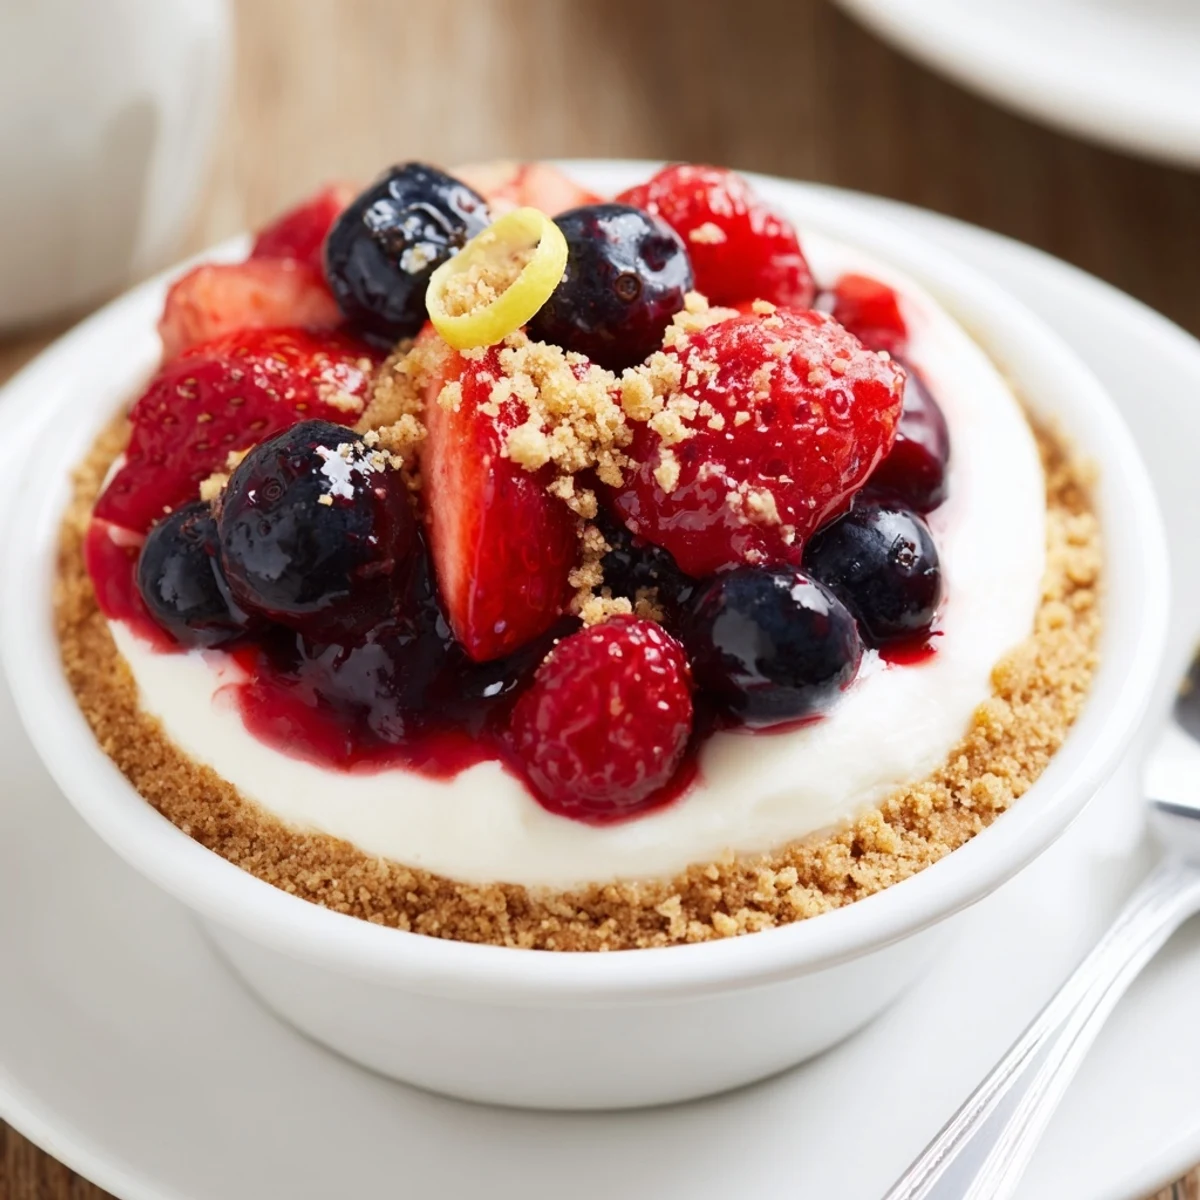
 These no-bake cheesecakes layer a buttery crushed biscuit base with a whipped cream cheese filling and a quick macerated berry compote. Press crumbs into serving glasses, fold whipped cream into softened cream cheese, top with sugar-lemon berries, then chill at least 3 hours to firm. Variations include gluten-free biscuits or a splash of liqueur in the fruit for added depth.
Beneath the whirr of my old hand mixer and the scent of melting butter, these berry no bake cheesecakes have quietly become a staple at my kitchen table. There is something disarmingly joyful about not having to turn on the oven on a sweltering afternoon. The layers assemble quickly, berries glistening like precious beads atop clouds of creamy filling. Every time I make them, I marvel at how effortless indulgence can be.
I recall the time I brought these to a last minute book club in July when heatwaves had us all swearing off baking. We layered each glass together around the table, laughing at our uneven dividing skills and licking spoons between stories. The combination of cold, creamy layers and juicy berries felt like the reward we all needed. Everyone brought home an empty glass and sticky smiles that night.
Ingredients
- Graham crackers or digestive biscuits: Their subtle sweetness anchors the base – pulse to a fine crumb for the best texture.
- Unsalted butter: Melted and mixed in so every crumb clings, yielding a perfect, cohesive base.
- Cream cheese: Choose a full fat block and let it soften for the creamiest, lump-free filling.
- Heavy cream: Whip until billowy – it lightens the filling, making every spoonful airy.
- Powdered sugar: Sifts in smoothly, so you avoid graininess and keep the cheesecake sweet and velvety.
- Vanilla extract: Just a splash transforms the tangy cheese into a dessert worth lingering over.
- Lemon zest (optional): I always add it for sparkle and to balance the richness.
- Mixed fresh berries: Use whatever is ripest – their vibrant hues and tartness steal the show.
- Sugar: Just enough to coax out the berries’ juices and boost their natural flavor.
- Lemon juice: Brings a subtle zing that brightens the whole berry compote.
Instructions
- Prepare the biscuit base:
- Empty your crushed biscuits into a mixing bowl, and pour over the warm melted butter – let the sweet, toasty scent fill the room as you mix until the crumbs are glossy and clump together. Divide this mixture between six glasses or ramekins, then press down gently so the layer is neat but not packed solid.
- Whip the cheesecake filling:
- In another bowl, soften the cream cheese by beating until it is smooth and paler – any remaining chilled bits should melt away with persistence. Add powdered sugar, vanilla, and lemon zest; mix until combined, then in a separate bowl softly whip your cold cream to stiff peaks, folding it gently through the cream cheese mixture so you keep all the air and fluffiness.
- Layer the filling:
- Spoon or pipe the filling atop each biscuit base, smoothing and swirling the tops with a spatula. Admire those creamy domes, knowing the hardest part is already done.
- Make the berry topping:
- In a small bowl, toss your berries with sugar and lemon juice. Let them rest for 10–15 minutes until they're glossy and have released a vibrant syrup that smells like summer.
- Add the berry layer:
- Spoon the juicy berries and their collected syrup over the cheesecake layers. Each one feels like its own little masterpiece.
- Chill and finish:
- Slide the assembled cheesecakes into the fridge for at least three hours (overnight, if you can stand the wait) until they are fully set and ready to serve ice cold.
 Save to Pinterest
 There was a night these little glasses transformed a regular Wednesday dinner into a celebration when my friend spontaneously got a new job. We scooped out the last spoonfuls, toasting berry-smeared glasses, and in that moment dessert became a memory.
The Joy of Quick Layered Desserts
I’ve learned that assembling desserts in individual dishes feels both playful and elegant, letting everyone have their own perfect serve. You can see each stunning layer, and it always sparks conversation at the table.
Swaps and Variations I Love
Depending on what fills your fridge or mood, you can swap in chocolate biscuits, add a splash of orange zest, or spike the berry syrup with a dash of liqueur. My youngest niece even requested a version with crushed Oreos once, which took everyone by surprise but was an instant hit.
Serving Up and Storing Leftovers
These no bake cheesecakes are best enjoyed well chilled, and they hold up in the fridge for a couple days without a hint of sogginess. If you do need to prep far ahead, keep the berry topping separate until just before serving for maximum freshness.
- A quick swirl of extra whipped cream adds instant drama.
- Swap in stone fruits or a drizzle of honey if berries are scarce.
- Remember to serve with a spoon long enough to reach the very bottom – every bite matters.
 Save to Pinterest
 If you try these, don’t be surprised if they vanish faster than you think. They’re proof that little gestures can turn any day into something special.
Recipe FAQs
- → How long should I chill to set properly?
-
Chill for a minimum of 3 hours to allow the filling to firm and the flavours to meld; overnight gives the best texture and easier slicing if served in larger dishes.
- → Can I substitute the biscuit base for a gluten-free option?
-
Yes—use gluten-free digestive biscuits or crushed gluten-free cookies and follow the same butter ratio to achieve a crisp, cohesive base.
- → How do I prevent the filling from becoming runny?
-
Beat the cream to stiff peaks before folding gently into the cream cheese and chill sufficiently. Avoid overmixing the filling once whipped cream is folded in to retain structure.
- → What if my berries release a lot of juice?
-
Drain excess juice if needed, or simmer briefly with a tablespoon of sugar to reduce and thicken into a compote—cool before spooning over the filling to avoid soggy bases.
- → Can these be frozen?
-
Yes—freeze before adding the fresh berry topping. Wrap tightly and thaw in the refrigerator; add fresh macerated berries just before serving for best texture.
- → Any tips for richer flavour?
-
Fold in a little lemon zest to the filling and consider a splash of berry liqueur into the fruit for amplified aroma and depth without altering the chilled set.
