 Save to Pinterest
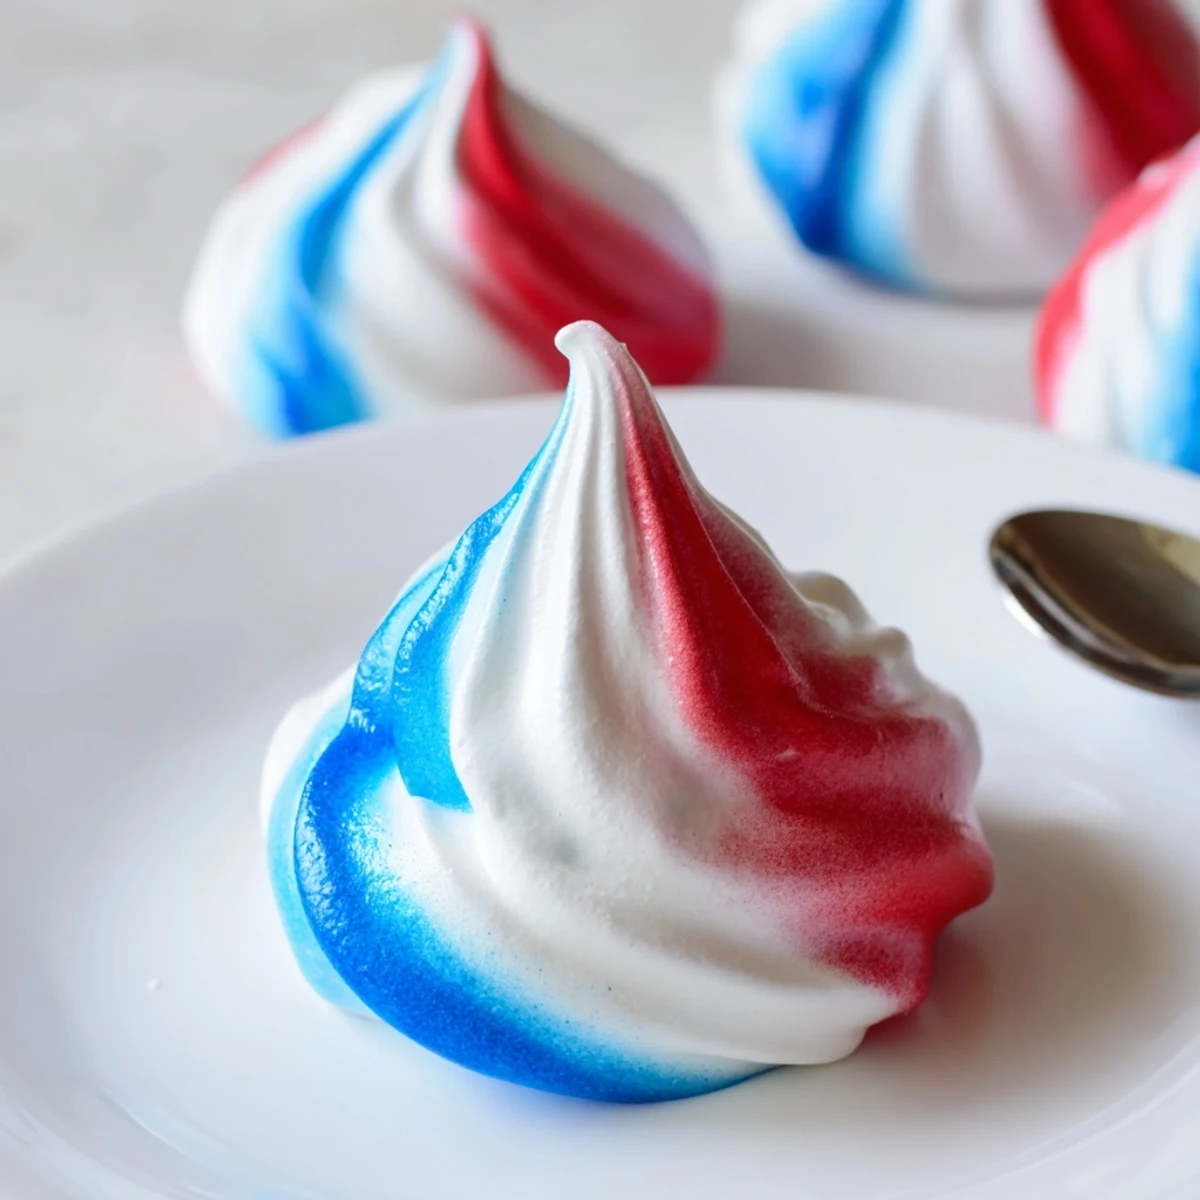
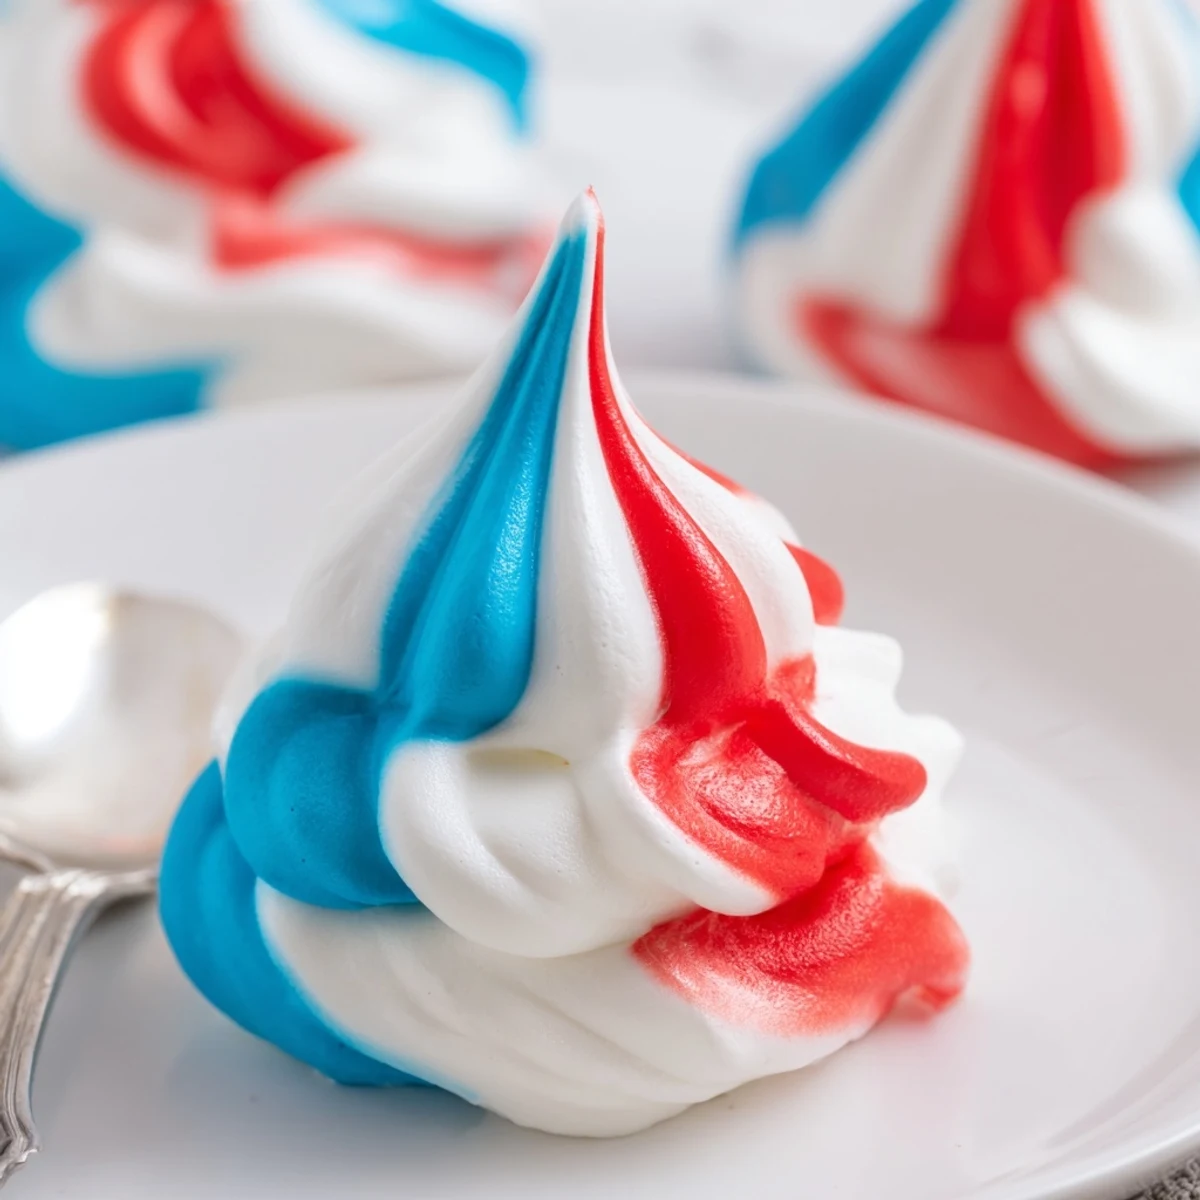
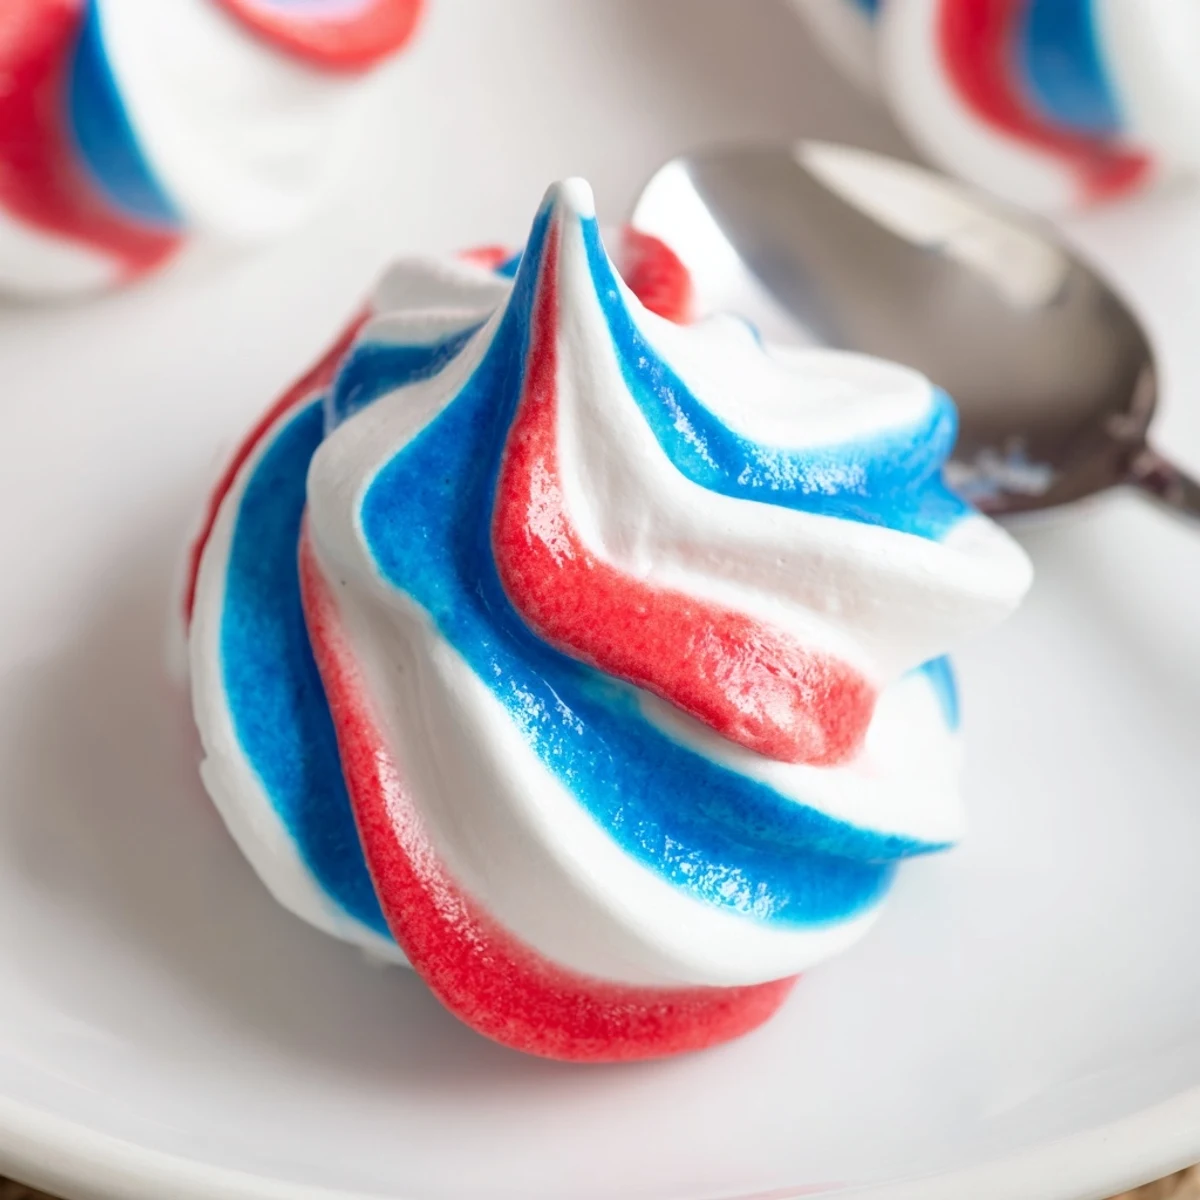
 Light, airy meringue kisses begin with four room-temperature egg whites whipped with cream of tartar and sugar until glossy, stiff peaks form. Stir in a little vanilla, paint red and blue gel stripes inside a piping bag, then pipe small mounds onto parchment. Bake very low (about 200°F / 90°C) for 1 hour 15 minutes and cool in the turned-off oven for an hour to dry through. Store airtight at room temperature for up to five days; keep bowls and tools grease-free for best volume.
The first time I made these swirled meringue kisses, my kitchen felt like a paintbox exploded somewhere between the eggs and the piping bags. I could smell the sweetness hovering in the air, and the anticipation was almost as strong as the colors themselves. Every batch is a small celebration, each one unique as a fingerprint and airy as laughter. Their crisp snap has become a secret party trick at any summer gathering.
Last Fourth of July, my nephew tried to pipe stars and we ended up in a laughing fit, wiping blue smears off our fingers. Watching everyone sneak the first crisp bite from the cooling racks felt like a reward for the candy-hued chaos. Friends still bring up those bright little kisses when summer rolls around again.
Ingredients
- Egg whites: Letting them warm to room temperature makes the meringue whip up fluffier every time.
- Granulated sugar: Add it slowly for the glossiest peaks—a tip I learned after my first collapsed batch.
- Cream of tartar: Don’t skip it—it helps keep everything stable, especially on humid days.
- Salt: Just a pinch balances the sweetness, making those kisses pop.
- Vanilla extract: Adds a subtle warmth that always catches people by surprise.
- Red and blue gel food coloring: Gel gives the most vivid streaks without thinning the meringue—water-based colors can ruin the texture.
Instructions
- Get ready:
- Set your oven to 200°F and line your baking sheets with parchment—hearing that crinkle always signals something fun is about to happen.
- Whip up the base:
- Start whipping egg whites and cream of tartar together; you’ll hear the mix thicken and see soft peaks start to curl.
- Sugar swirl:
- Keep beating, adding sugar spoon by spoon; after a few minutes, the meringue will turn thick and glossy, almost like marshmallow fluff.
- Final additions:
- Beat in the salt and vanilla, watching the scent bloom right under your nose.
- Color your bag:
- Use a food-safe brush to swipe red and blue stripes inside your piping bag—don’t be shy, go for vivid lines beside one section left plain.
- Fill it up:
- Spoon the meringue gently into the bag, careful not to smudge your stripes; I always hold my breath at this part.
- Pipe the kisses:
- Pipe out small mounds in neat rows; the swirls will start to show right away for a little rush of satisfaction.
- Slow bake:
- Slide them into the oven and let them dry out for 1 hour 15 minutes—your kitchen will smell faintly sweet the whole time.
- Cool and store:
- Turn the oven off and let them cool inside so they’re extra crisp; once cool, store in an airtight tin so they stay perfect for days.
 Save to Pinterest
 One afternoon, I brought a box of these to a backyard picnic, and even the adults ended up comparing whose fingertips turned the brightest blue. That’s when it hit me: these aren’t just a treat, they’re instant conversation starters and unexpected little bursts of joy.
Troubleshooting Stiff Peaks and Other Kitchen Mysteries
Egg whites can be temperamental, and I’ve learned patience is key—sometimes it takes a few extra minutes of beating before those peaks stand tall. If it’s humid out, they’ll need more time in the oven, so I always check with a gentle tap to make sure they’re not sticky. Whipping them on a rainstorm day once gave me the chewiest batch, but everyone still ate them happily.
Flavor Ideas for Your Festive Kisses
Adding a drop of almond or peppermint extract is a fun switch if you want to surprise guests, but keep it minimal—too much will collapse the meringue. Occasionally, I sprinkle edible glitter on top before baking for extra sparkle. No one ever complains when I go a little overboard with decorations, especially the kids.
How to Store and Share (So They Actually Last)
Airtight containers are a must, unless you want your kisses to turn sticky overnight. I stash them in cookie tins lined with parchment and hide the best ones on the top shelf for myself.
- Layer parchment between batches if you’re stacking them.
- Don’t store them near the stove or dishwasher, or they’ll pick up moisture.
- These make cheery edible gifts, just add a festive ribbon around the container.
 Save to Pinterest
 May your meringue kisses bring color, crunch, and a dash of joy to every table you share them at. They’re my favorite way to add a little flair to any celebration, no matter the season.
Recipe FAQs
- → How do I achieve glossy, stiff peaks?
-
Use room-temperature egg whites, a completely clean, grease-free bowl and whisk, add a pinch of cream of tartar, and add the sugar slowly while beating on high until the mixture holds glossy, stiff peaks.
- → Why bake at a low temperature for so long?
-
Low, slow baking dries the meringues without browning, producing a crisp exterior and fully dried interior. The long cool-in-oven step ensures they finish drying evenly.
- → How can I create the red, white, and blue swirl?
-
Paint thin stripes of gel coloring inside the piping bag with a food-safe brush (red, blue, and leave one stripe plain). Spoon in the meringue gently to preserve the stripes, then pipe small kisses.
- → How should I store these meringues?
-
Keep meringues in an airtight container at room temperature away from humidity. Properly dried meringues stay crisp for up to five days; avoid refrigeration, which can introduce moisture.
- → Can I flavor the meringues?
-
Yes — small amounts of extracts (vanilla, almond, or citrus zest) work well. Add sparingly, as extra liquid can soften the whites and prevent stiff peaks.
- → What causes meringues to weep or become sticky?
-
Humidity, undercooking, or adding sugar too quickly can cause weeping. Ensure sugar is fully dissolved and finish drying in the oven and during the cool-down to minimize stickiness.
