 Save to Pinterest
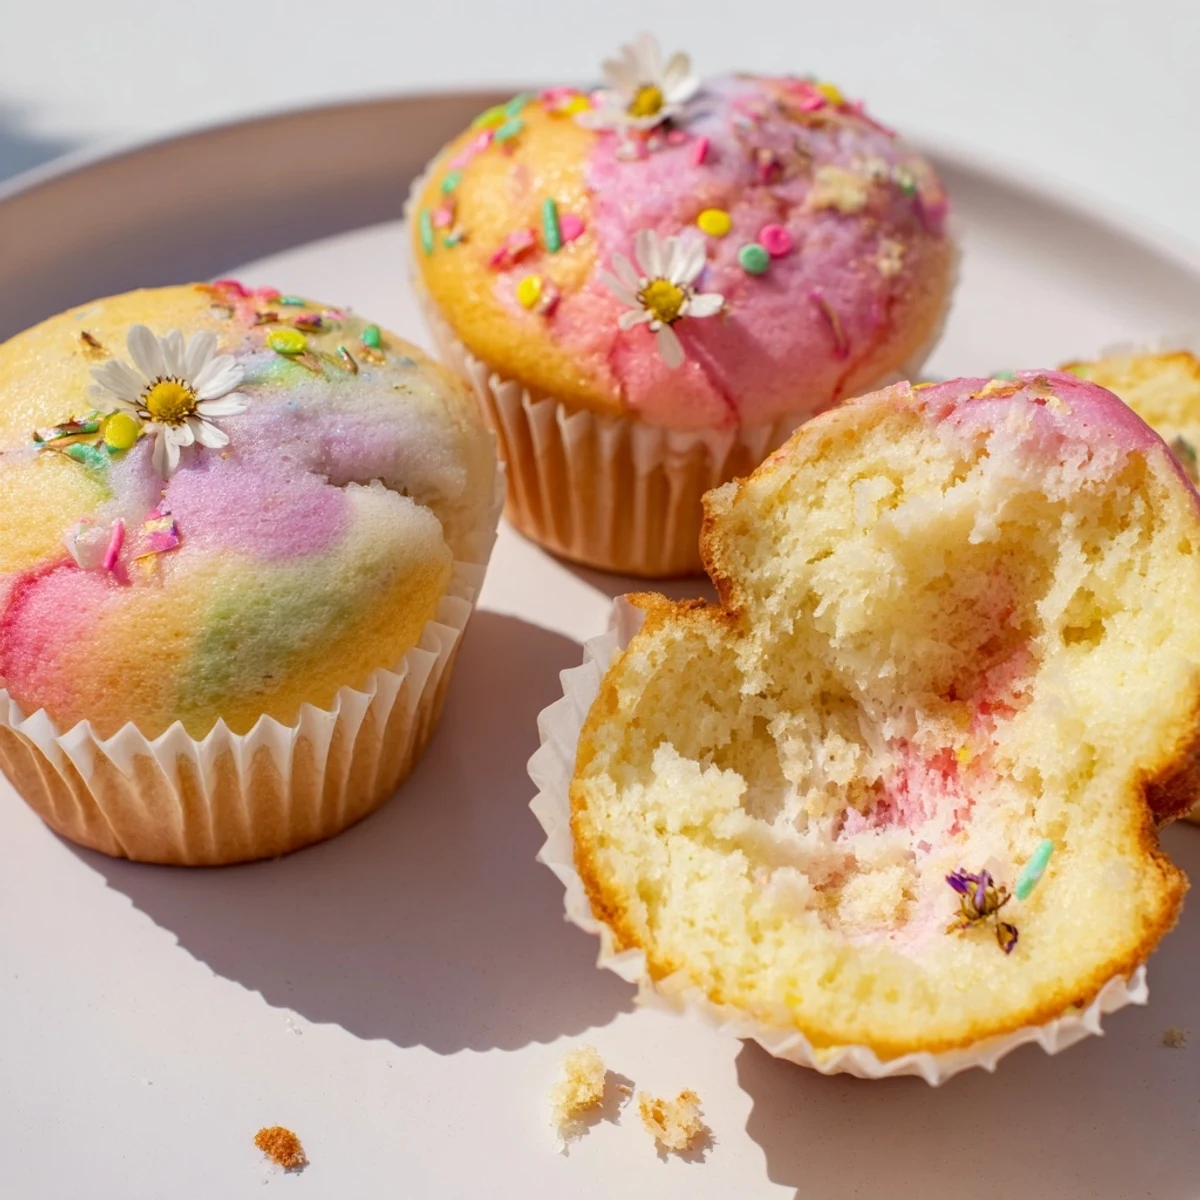
 These tender steamed cupcakes feature a signature blooming effect that creates beautiful cracked tops. The gentle steaming method produces incredibly moist, fluffy results without requiring an oven. Simply mix the batter, pour into lined molds, and steam for 12-15 minutes until they rise and crack open elegantly. Customize with natural food colorings like matcha or beet powder for vibrant swirled effects. The technique yields consistently moist treats perfect for warm climates or when oven access isn't available. Decorate with sprinkles, edible flowers, or chocolate chips for a stunning presentation.
The rain was hitting our apartment windows so hard that afternoon, and I had promised my niece we would bake together for her birthday. No oven meant improvisation, and honestly, I was skeptical about steamed cupcakes until I saw those gorgeous cracked tops rising like little flowers through the glass lid. She squealed when they started blooming, and suddenly the rainy day became one of our favorite kitchen memories.
Last summer, my neighbor Sarah watched through the doorway as I pulled these from the steamer, fascinated that cupcake cakes could exist without an oven. Now she makes them with her kids every Sunday, each child choosing their own color for the blooming batter swirl. Something about watching them rise through the steam feels magical, like a little science experiment you can eat.
Ingredients
- 1¾ cups all-purpose flour: The foundation that gives structure while staying tender, and Ive learned sifting it first makes all the difference for texture
- 1 tsp baking powder: This helps create that gorgeous rise and the signature blooming crack on top
- ½ tsp baking soda: Works with the baking powder for extra lift, ensuring your cupcakes dont stay dense
- ⅛ tsp salt: Just enough to balance the sweetness without making them taste salty
- ¾ cup granulated sugar: Creates the tender crumb and helps the eggs whip up into that pale, thick mixture we want
- 2 large eggs, room temperature: Room temp eggs incorporate better and whip up fluffier, and I learned this the hard way after several failed batches
- ½ cup whole milk: Adds moisture and richness, though I have successfully used plant-based alternatives too
- ⅓ cup melted unsalted butter: Butter gives that incredible flavor, but neutral oil works if you need a dairy-free version
- 1 tsp vanilla extract: Pure vanilla makes these taste bakery-quality, and I never skip it even when Im in a rush
- Food coloring: Gel coloring works best without thinning the batter, and my niece loves watching the colors swirl together
Instructions
- Get your steamer ready:
- Fill your steamer with water and bring it to a gentle simmer, then line your cupcake molds with paper liners while you wait
- Whisk the dry team together:
- In a medium bowl, combine the flour, baking powder, baking soda, and salt until everything is evenly distributed
- Make the batter base:
- Beat the eggs and sugar until they turn pale and thick, then whisk in the milk, melted butter, and vanilla until smooth
- Combine everything gently:
- Fold the dry ingredients into the wet mixture just until combined, being careful not to overmix or your cupcakes might turn dense
- Add some color if you want:
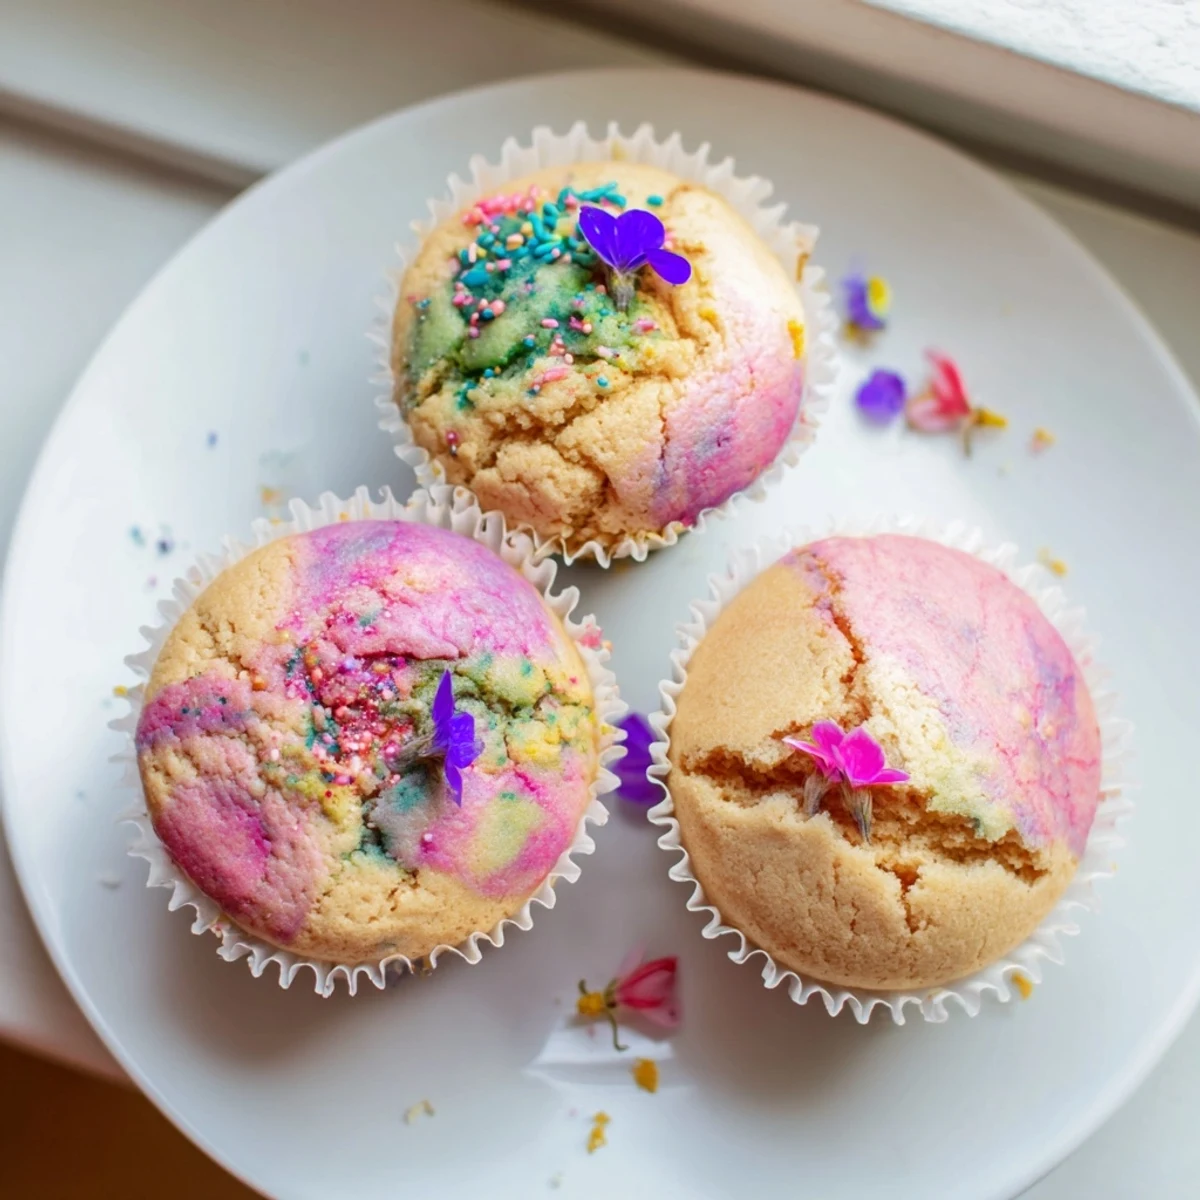
- Divide the batter and fold in your chosen food coloring, then layer or swirl the different colors for that blooming effect
- Fill your molds:
- Spoon the batter into prepared cupcake molds, filling each about three quarters full to give them room to rise
- Protect from drips:
- Place molds in the steamer with space between them, and cover the lid with a clean cloth so condensation doesnt ruin your beautiful blooming tops
- Let them bloom:
- Steam over medium heat for 12 to 15 minutes until a toothpick comes out clean and those gorgeous cracks have appeared on top
- Add the finishing touches:
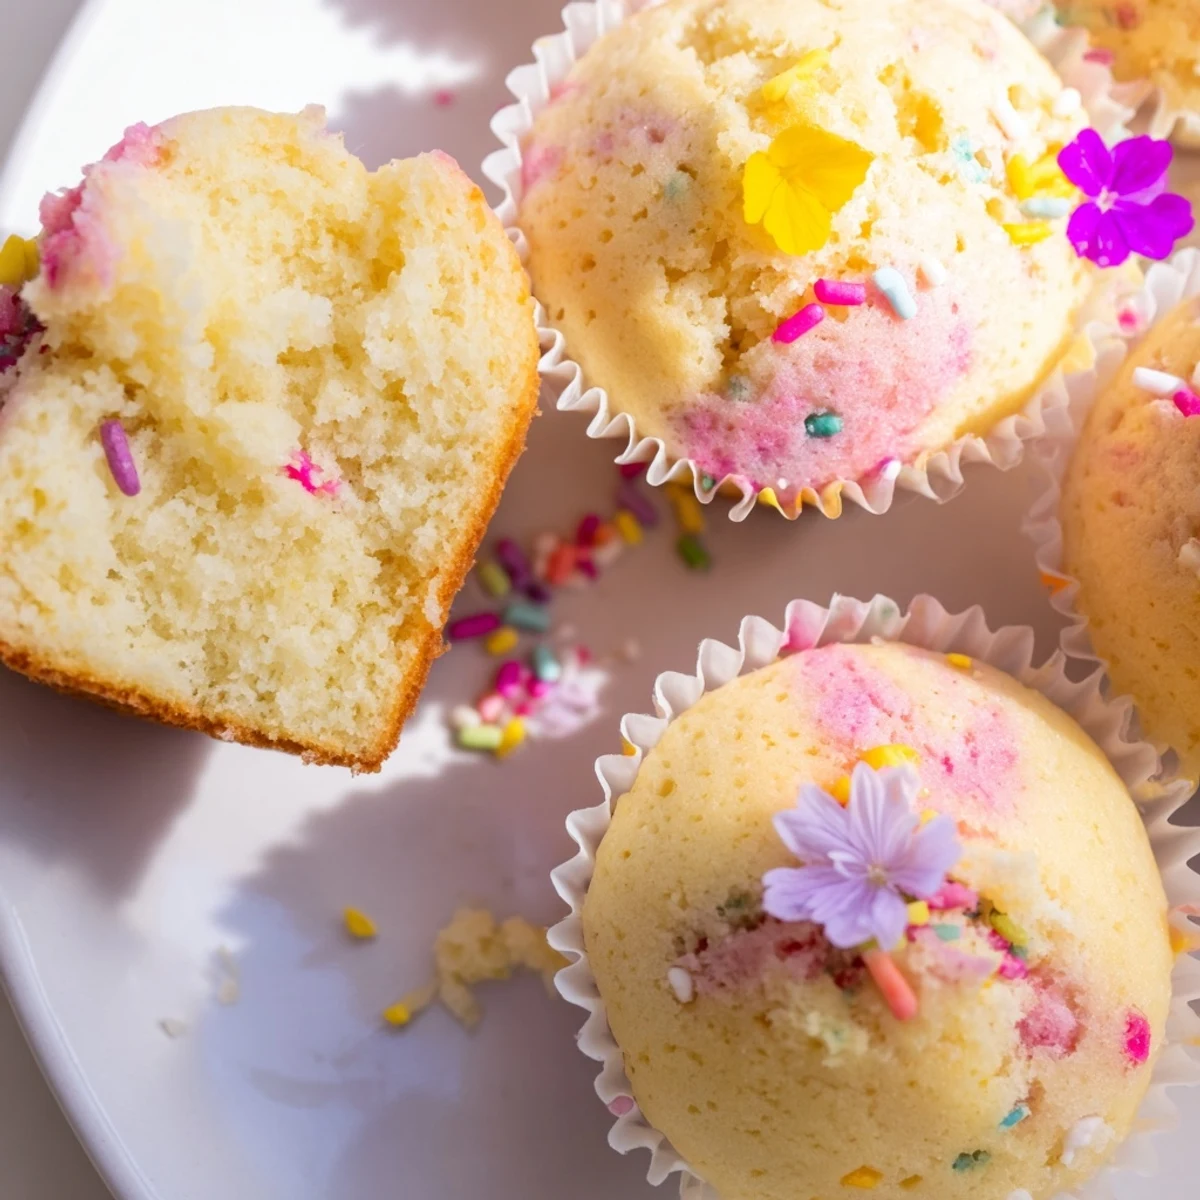
- Let them cool slightly, then decorate with sprinkles, edible flowers, or chocolate chips while theyre still a bit warm so everything sticks
 Save to Pinterest
 My sister-in-law was so skeptical when I told her about no-oven cupcakes until she took her first bite and immediately asked for the recipe. Now she makes them for every school party because they are so much faster than baking and always turn out perfectly.
Getting That Perfect Bloom
The blooming effect happens naturally as the steam cooks the batter from the outside in, creating that beautiful crack on top. I have found that filling the molds to exactly three quarters full gives the best results without overflowing during steaming.
Flavor Variations
Sometimes I add fresh citrus zest or almond extract instead of vanilla for a completely different vibe. Matcha powder or beet juice can create natural colors while adding subtle flavor at the same time.
Making Them Ahead
These actually taste even better the next day because the flavors have time to develop and settle. Store them in an airtight container and they will stay moist for up to three days, though they never last that long in my house.
- Wrap them individually if you are planning to pack them in lunchboxes
- Refrigerate them if your kitchen is particularly warm or humid
- A quick 10 second steam refresh brings back that just-made texture
 Save to Pinterest
 There is something so satisfying about pulling back that cloth and seeing all those little blooms looking up at you. Hope your kitchen fills with as much joy as mine does whenever these are steaming.
Recipe FAQs
- → Why do these cupcakes crack on top while steaming?
-
The beautiful blooming effect occurs when steam creates rapid rising in the batter. As moisture evaporates and the cake structure sets, the top naturally cracks open, creating that signature flower-like appearance. Proper steaming temperature and not opening the lid too early ensures consistent blooming.
- → Can I make these without a traditional steamer?
-
Yes! You can create a makeshift steamer using a large pot with a heatproof bowl or trivet at the bottom. Add water, bring to a simmer, and place your cupcake molds on a rack above the water line. Cover tightly with a kitchen cloth under the lid to catch condensation.
- → How do I prevent condensation from making cupcakes soggy?
-
Place a clean kitchen towel between the steamer lid and the pot. This cloth absorbs steam droplets that would otherwise drip onto your cupcakes, ensuring they stay fluffy and moist rather than waterlogged. Avoid opening the lid frequently during cooking.
- → Can I substitute ingredients for dietary restrictions?
-
Absolutely. Replace all-purpose flour with gluten-free blends, use plant-based milk instead of dairy, and swap butter for neutral oil or vegan alternatives. For egg-free versions, try flax eggs or commercial egg replacers, though texture may vary slightly.
- → How should I store these steamed cupcakes?
-
Store cooled cupcakes in an airtight container at room temperature for up to 2 days. For longer storage, refrigerate for up to 5 days. They freeze beautifully for up to 3 months—wrap individually in plastic wrap before freezing. Bring to room temperature before serving.
- → What's the best way to achieve vibrant colors?
-
Gel food coloring provides the most intense hues without altering batter consistency. For natural alternatives, try matcha powder for green, beet powder for pink, or turmeric for yellow. Divide batter before coloring, then layer or swirl gently for marbled effects.
